Basic Motion Plotting and Story Tool
Plotting Prop Motion:
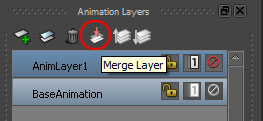
1. Select prop(s) root bones (to which you parented a primitive), select Animation Layers and Merge them. If in doubt and want to merge all layers on all objects, choose options ALL, ALL, Scene. Use Smart Plot if you specifically want to reduce number of keyframes (file size).
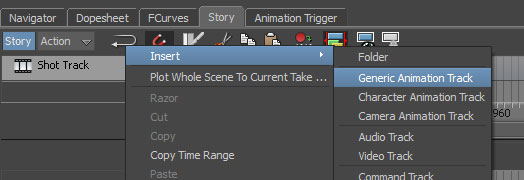
2. Go to Story Tab and insert a Generic Animation Track.
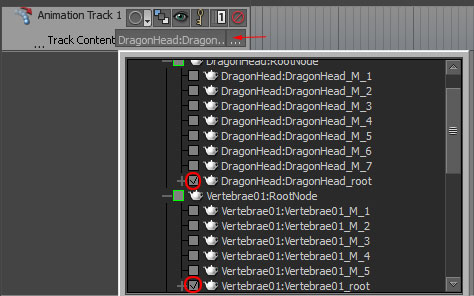
3. Specify props AND other animated items to be included in the Track Content by selecting desired prop bones. For instance you can include objects animated via constraints, materials, objects animated via physics solver.
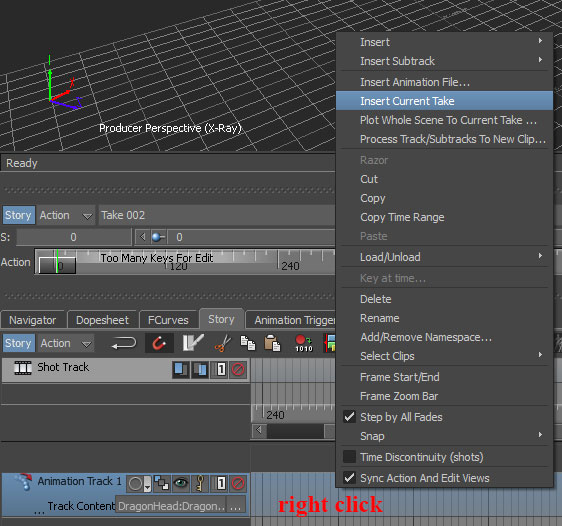
4. Insert current take into the Story Track.
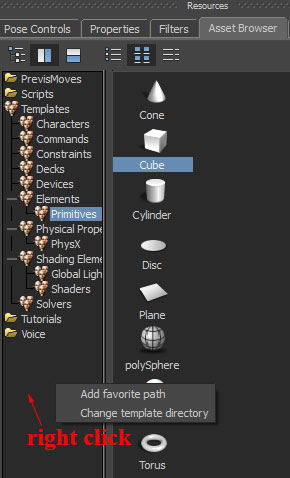
5. Create a folder for the clips you wish to make and subsequently work with. Then create a path to this folder in Asset Browser.
6. Make sure this folder is open, then right click on the clip in the generic track and select Export Clip. Right click the folder and pick Refresh. You should see the newly exported clip listed.
7. You can delete the clip associated with the current take and switch to another take to plot data. After several clips have been plotted you can clear the generic track again and drag the clips onto it for sequencing, looping, cutting, reversing, blending and so on. When finished
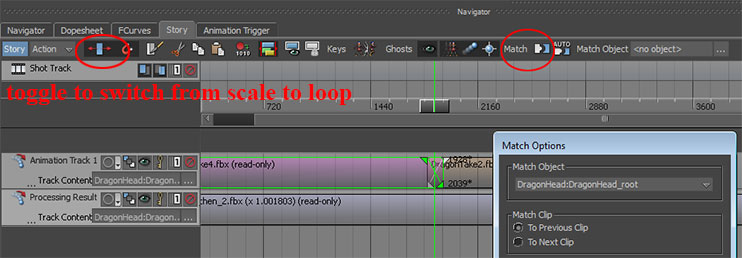
8. To scale or loop your clip toggle the icon shown in figure below, then drag the right edge of a clip.
9. To blend clips, drag them or their edges towards each other to create an overlap. If no Match Object is selected the clips will blend while preserving their original location in space. If Match Object is specified then the clip location will be adjusted to match either the first or the second clip location (see Matching options).
10. When ready to export your edited work right click on the empty (not clips) area of the generic/animation track and select Process Track/Subtracks to New Clip. That is the fbx file you can import to other applications.