| |
Save often!
CLICK ON PICTURES TO ENLARGE THEM |
 |
1. 1. In planning your UV layout consider parts of the model that will draw viewers attention first such as front of the body and the head. Consider cutting up UV shells in a way that the seams are going to be hidden on the sides or the back of the model, ie back of the head and sides of the body.
2. Delete construction history and do Mesh Cleanup on the model. Hide the birds on a separate display layer.
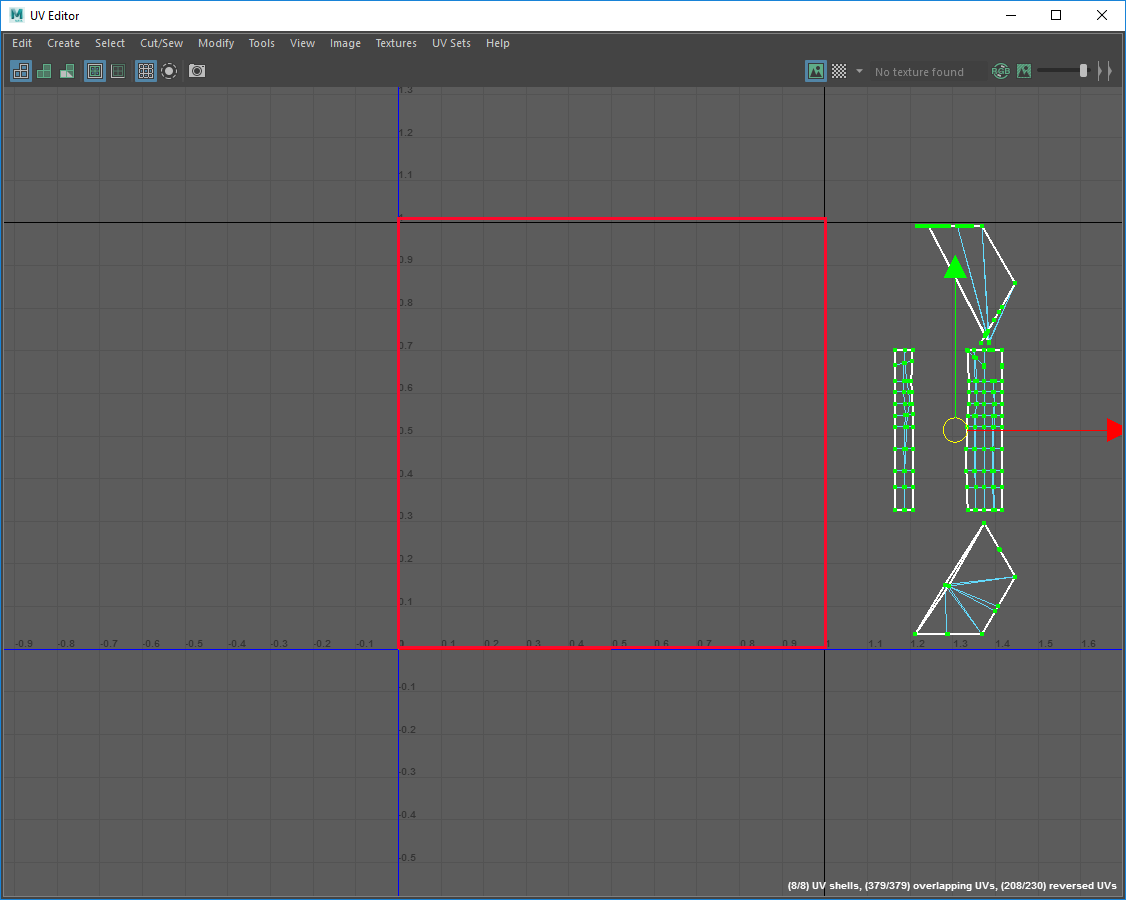
3. Right click to activate UVs selection mode. Select all default UVs in the UV editor and move them away from the 0-1 quadrant with the Translate Tool.
4. Ultimately all UV shells need to fit inside 0-1 quadrant, unless you the model is intended to be used in an animation made and rendered in Maya
|
PROJECTING UVs
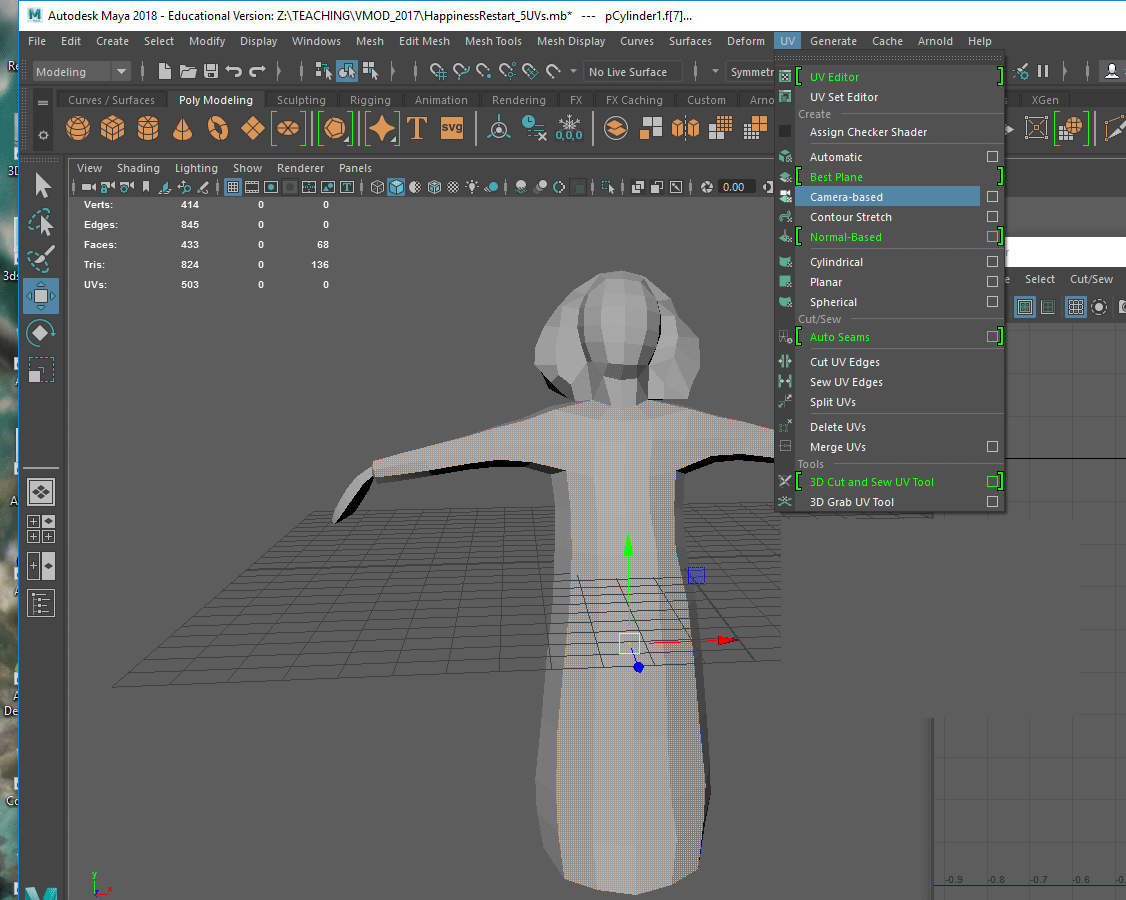 |
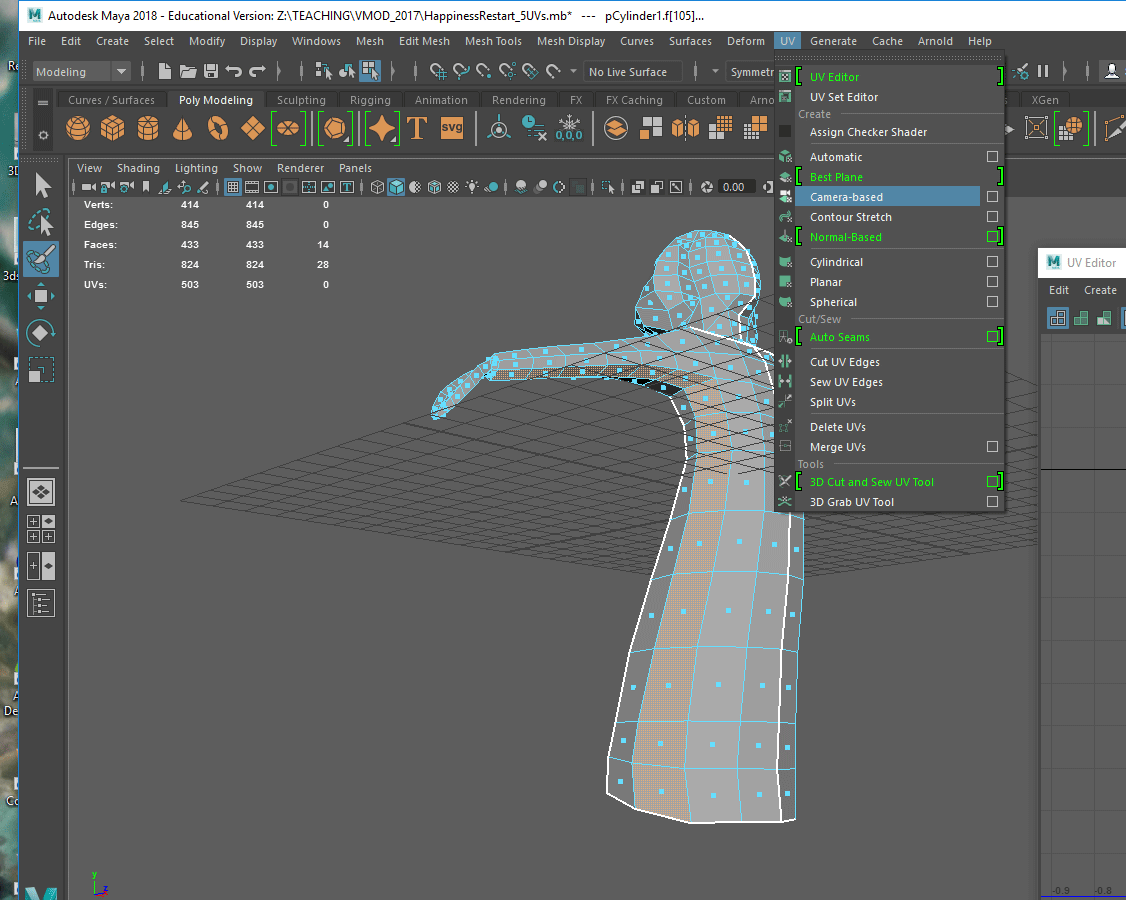
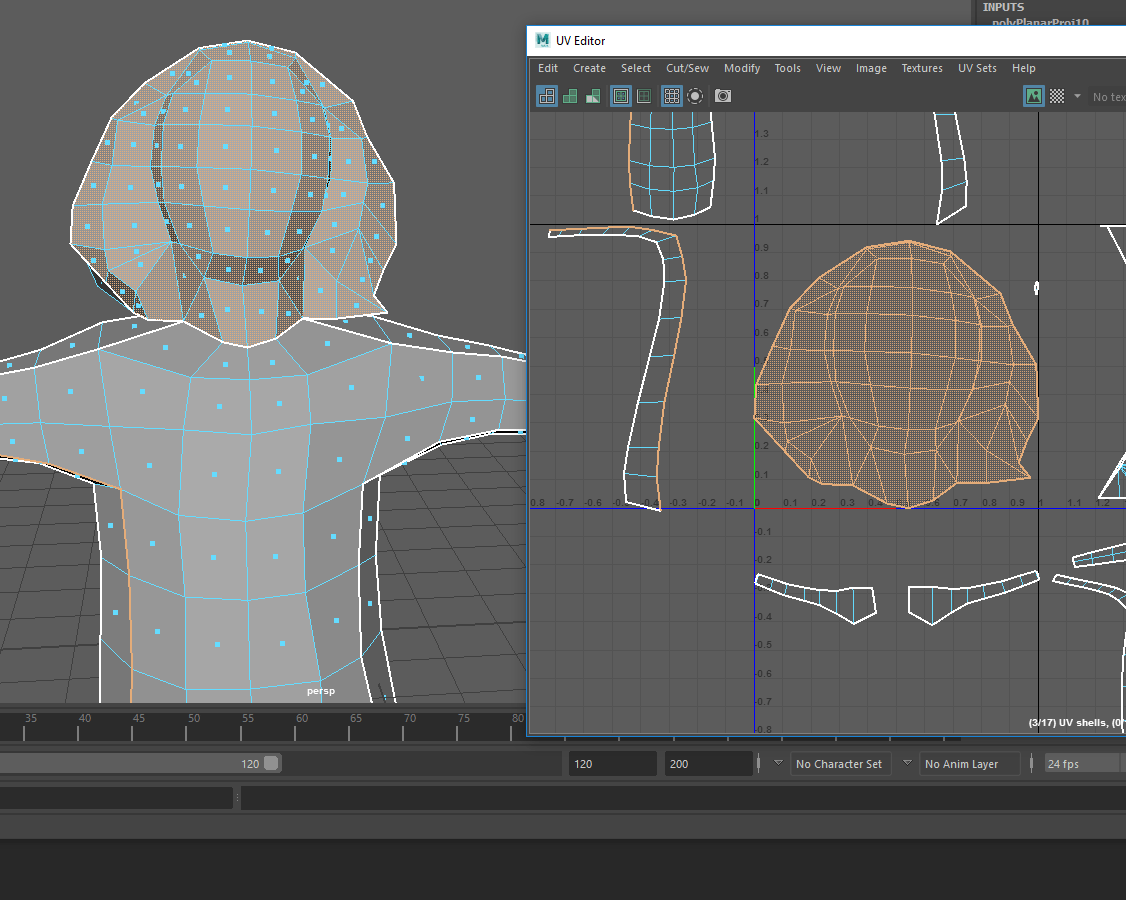
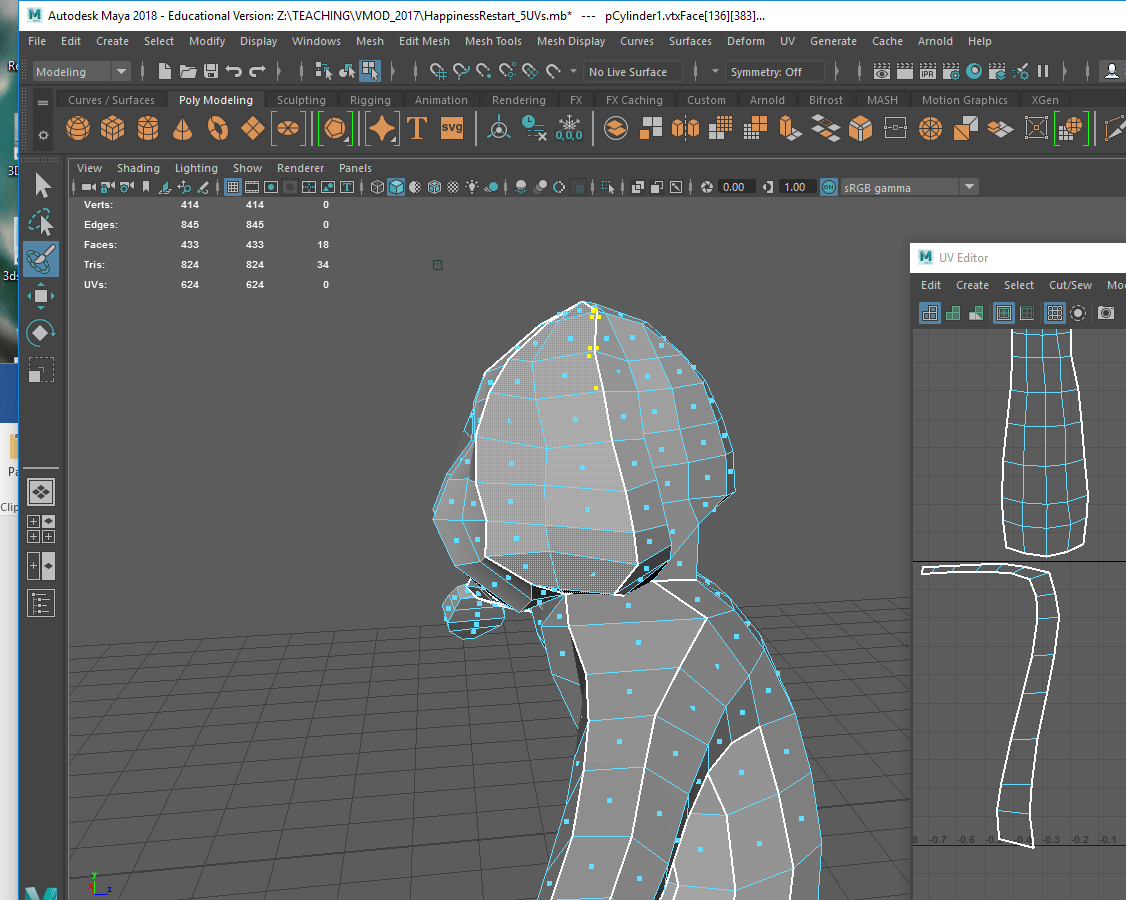
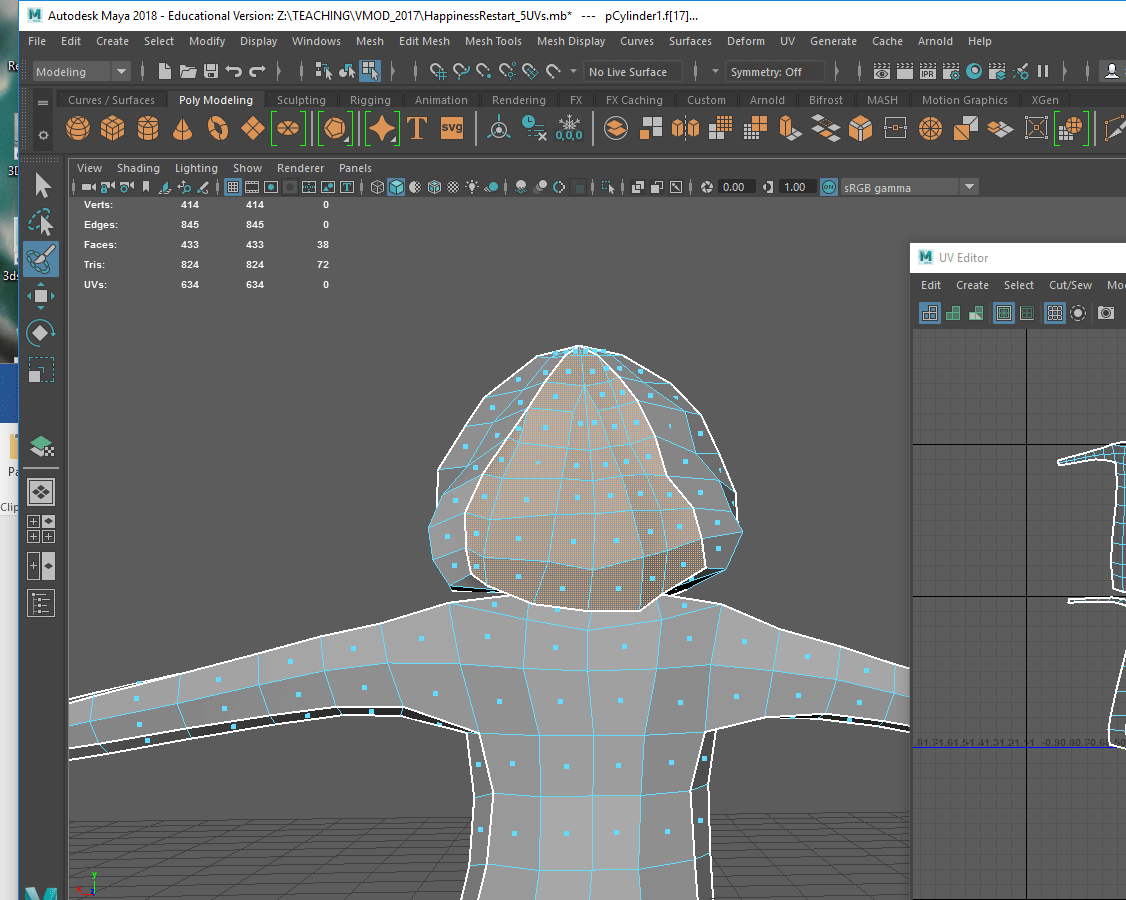
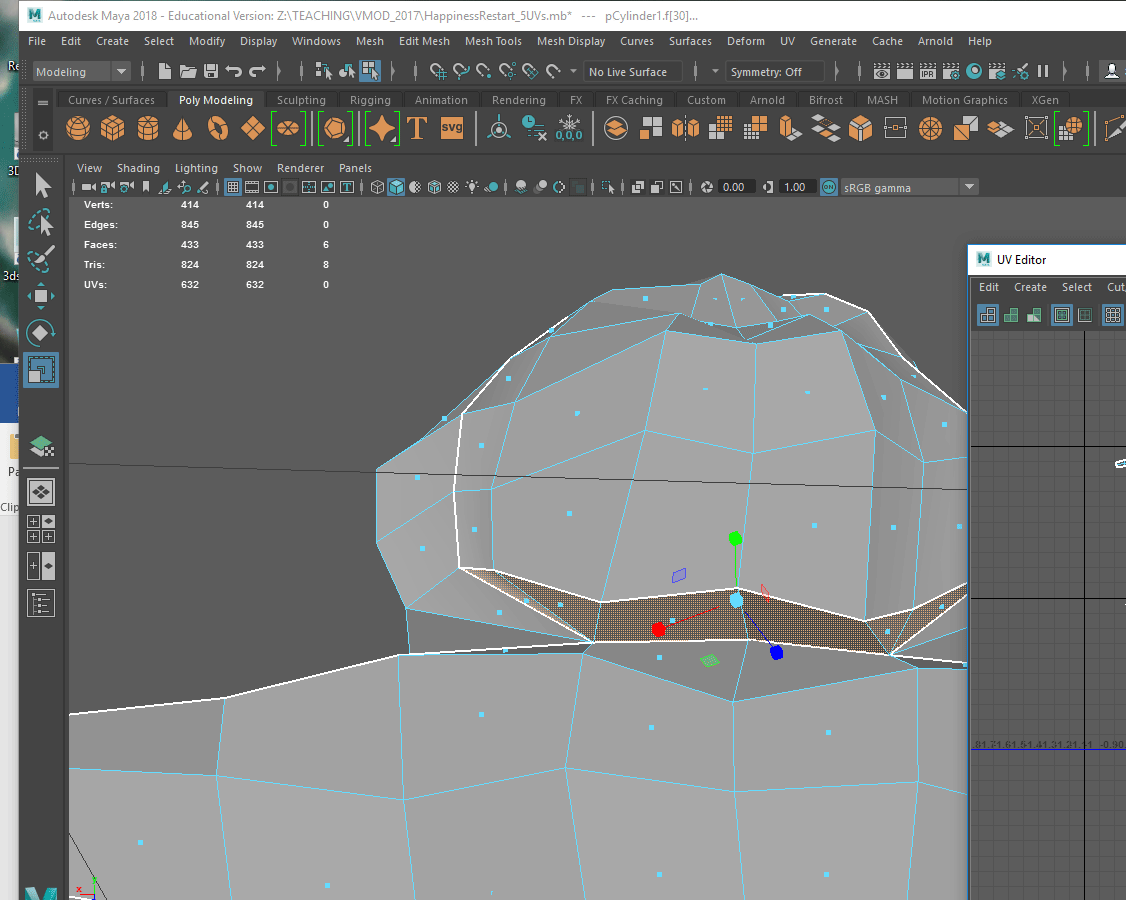
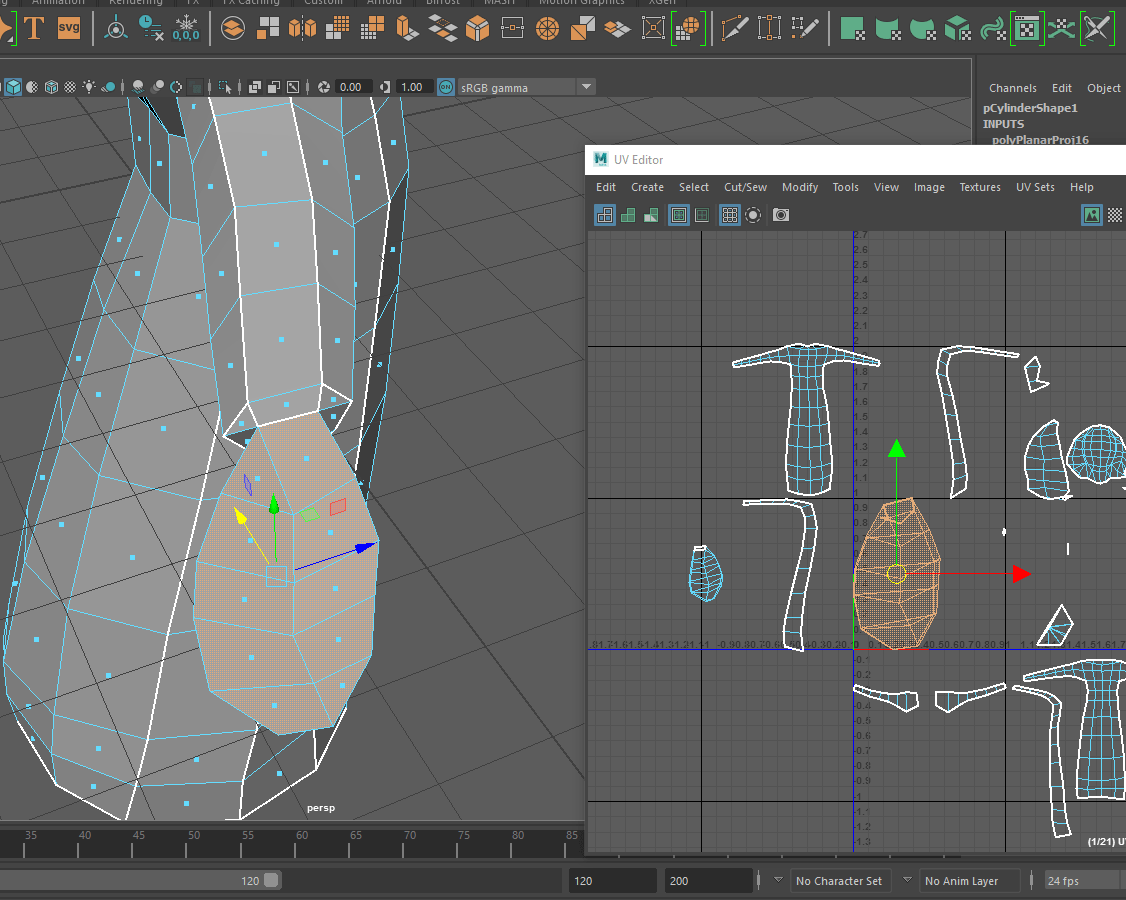
6. Select groups of faces in the areas of minimal curvature and use Camera based projection to create individual UV shells. Move them away from the 0-1 quadrant as you make them to avoid clutter. Right click to select UV shell or UV selection mode, use Lasso Tool to select individual UV groups.
The primary goal of this step is to create the UV shell that represents correct proportions of the faces in the model. The second goal is to ensure that all the faces have maximum pixels allocated to their texture. If one was going to paint the texture from scratch the Best Plane projection method would be better, but in this case reference photos are used for making the texture. In this case Camera Based Projection mimicks the camera angle from which reference photos were taken. This ensures same UV shell proportions as the model faces visible from the photo camera.
|
 |
 |
 |
 |
 |
 |
 |
 |
 |
 |
 |
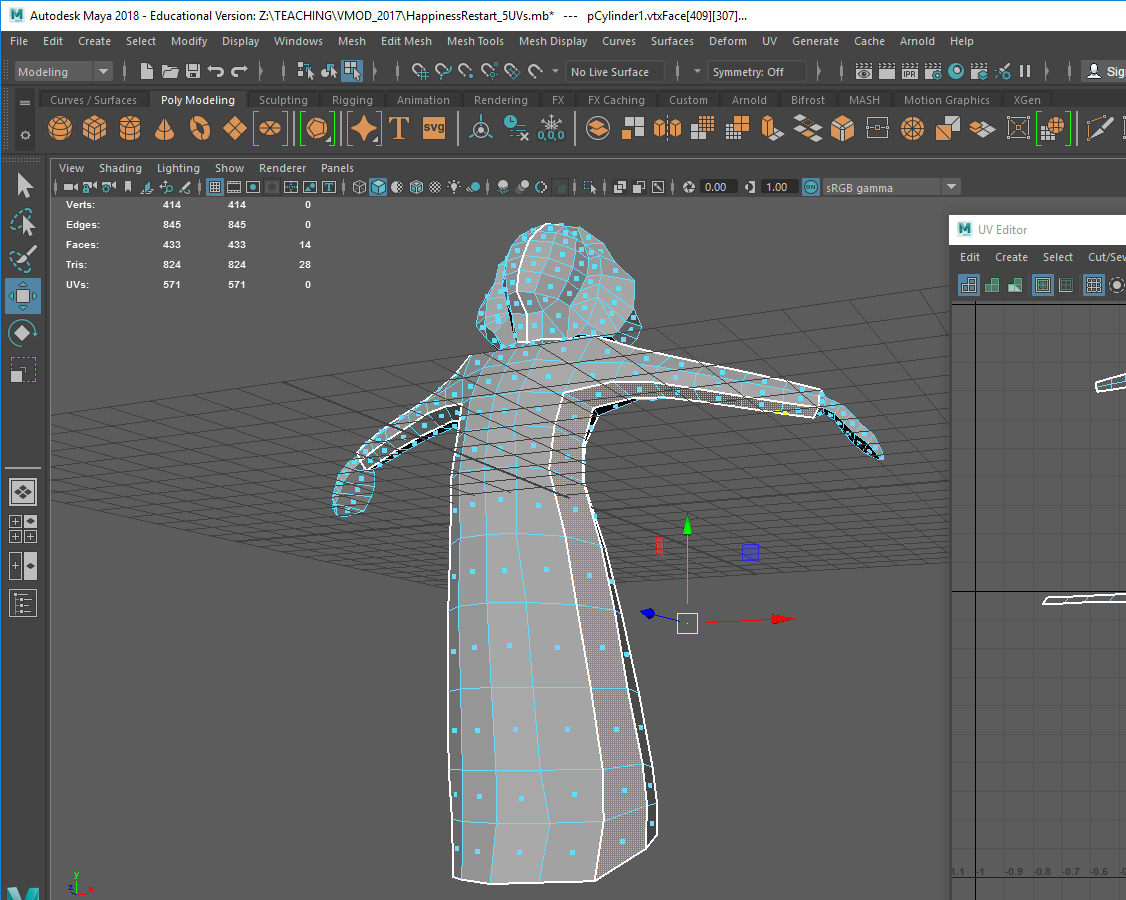
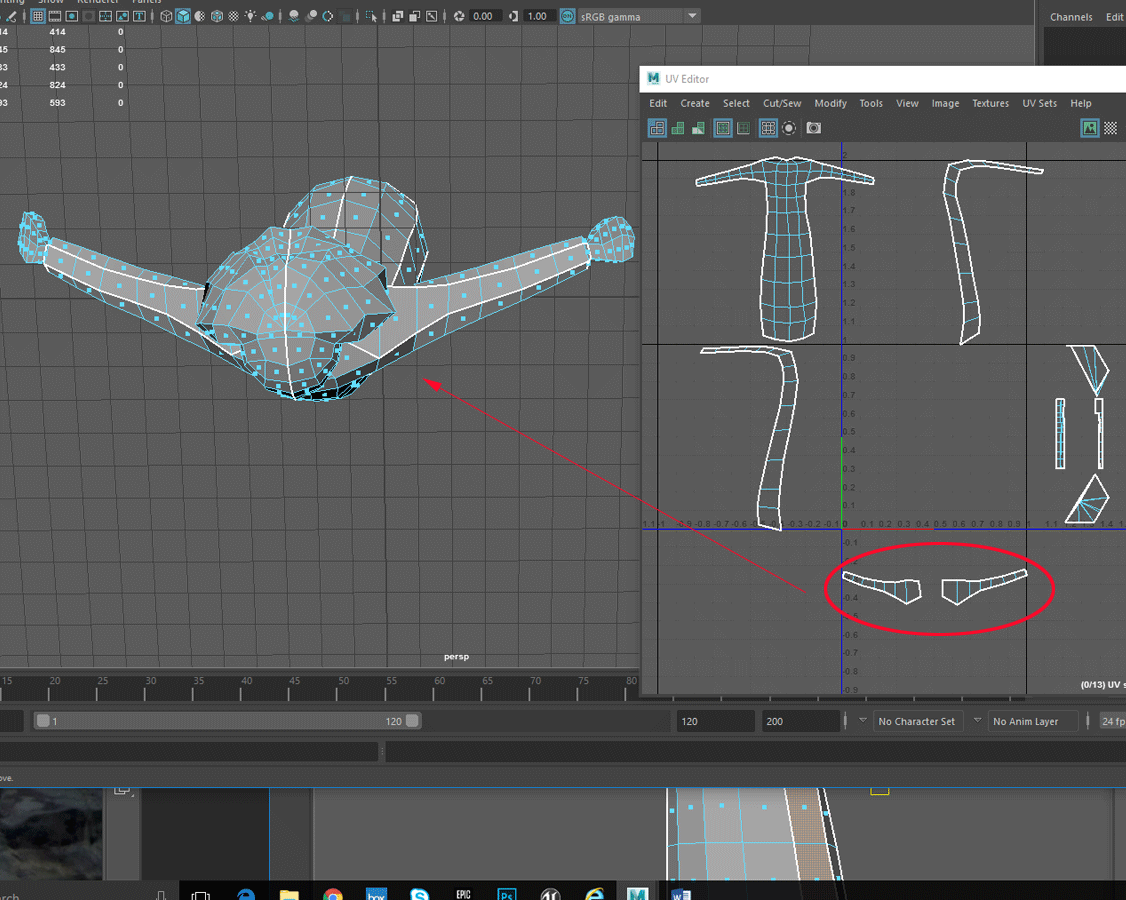
Unlike the previous cases, DO NOT select top and bottom of the hands separately. Instead select all the hand faces. We will cut them into two separate shapes. |
 |
 |
 |
|
 |
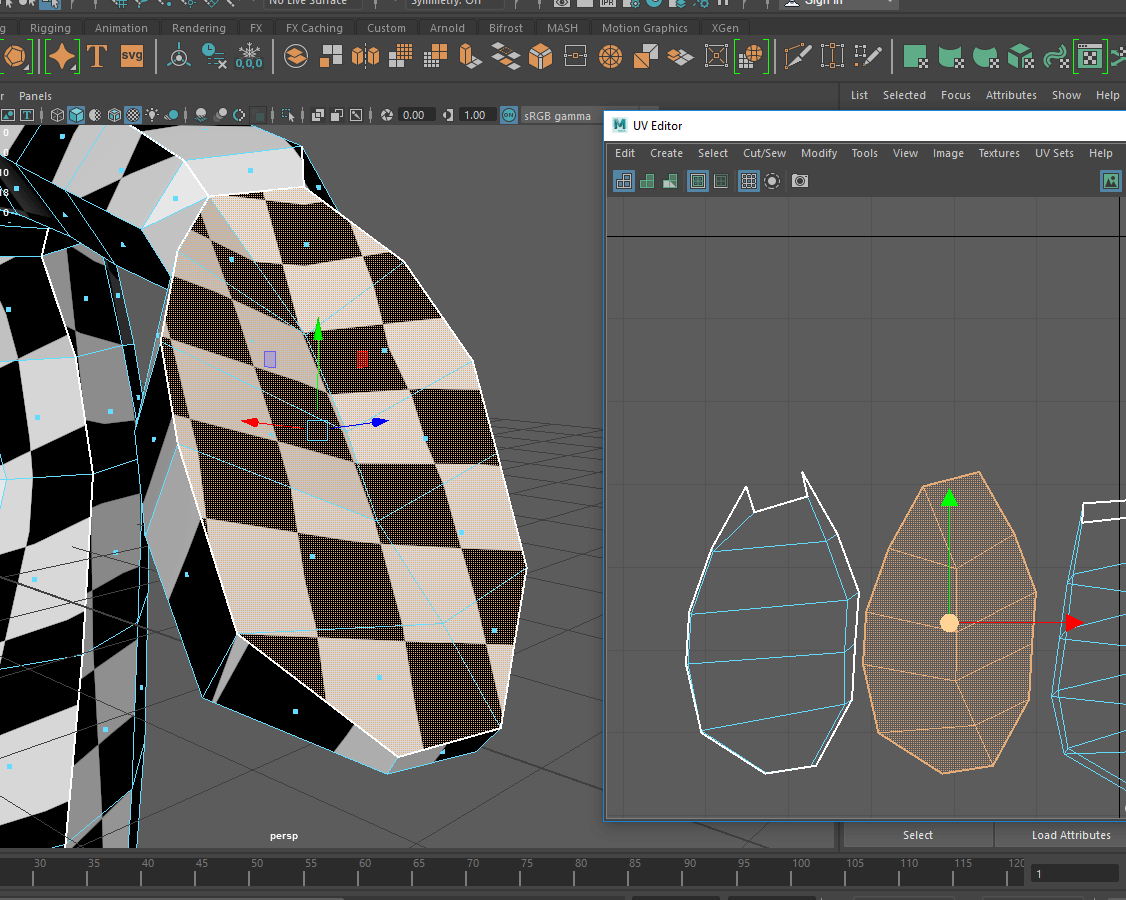
So far the model had a default material assigned to it. In Windows/Rendering Editors/Hypershade go Create Lambert. Int he work window inside Hypershade click on teh new lambert, rename it if you like. Then go to the Color check box, click on it and assign a procedural 2d texture Checker to it. Middle mouse drag the material (the ball in the top window of Hypershade) and drop it onto the model. Press 6 on the keyboard to see the material on the model. |
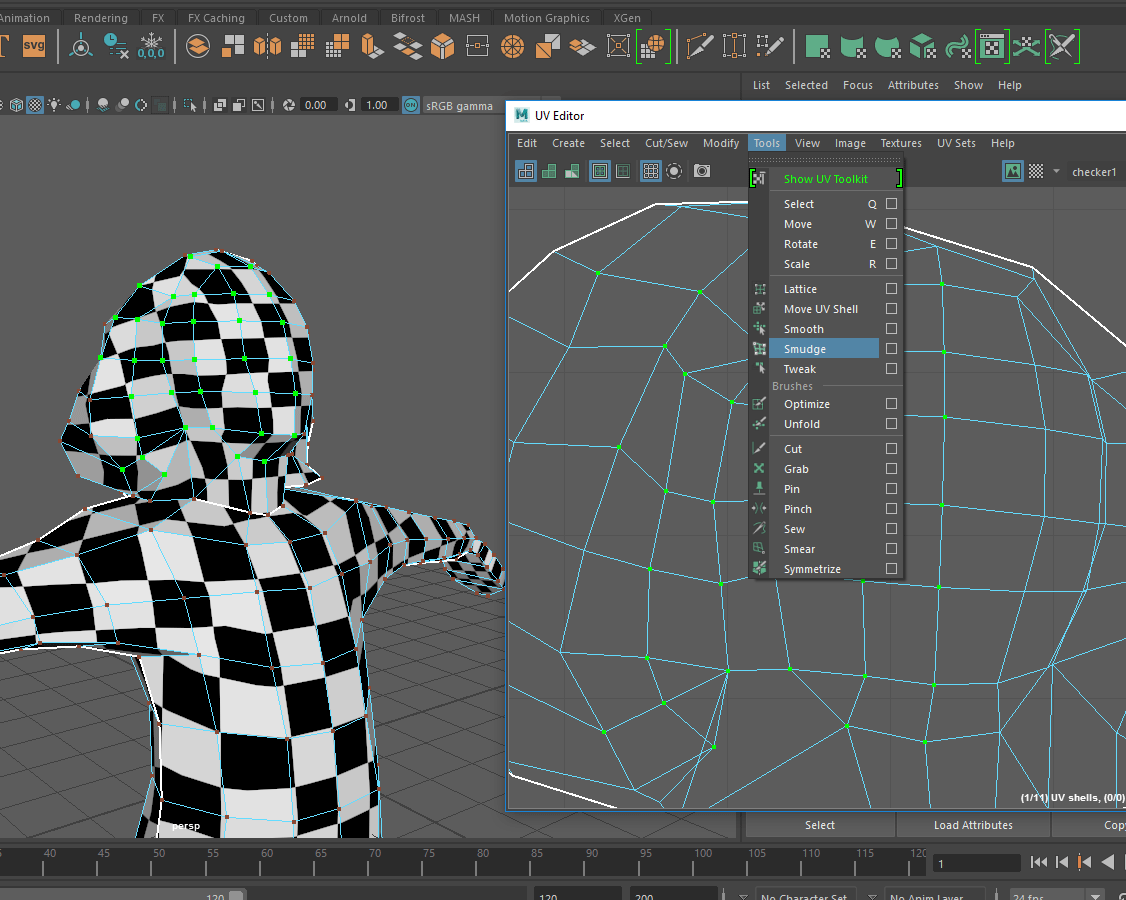 |
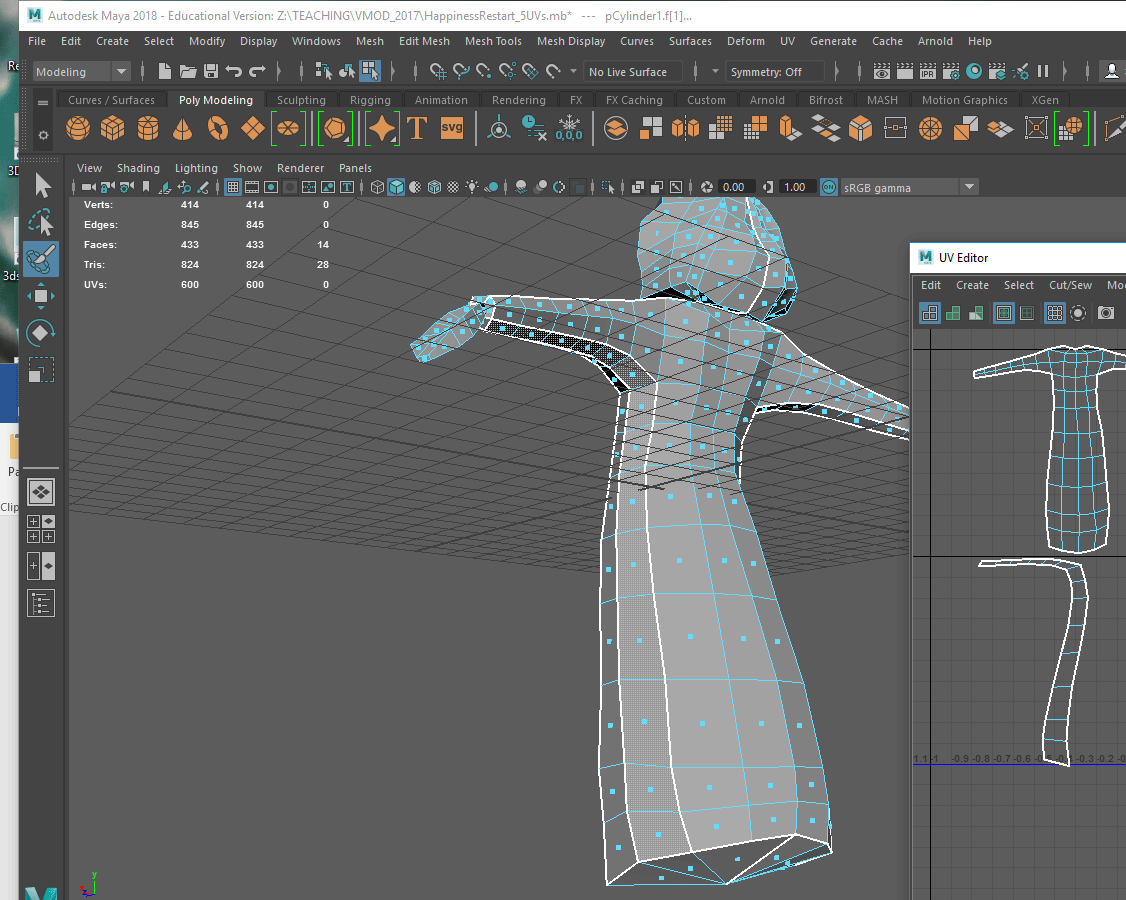
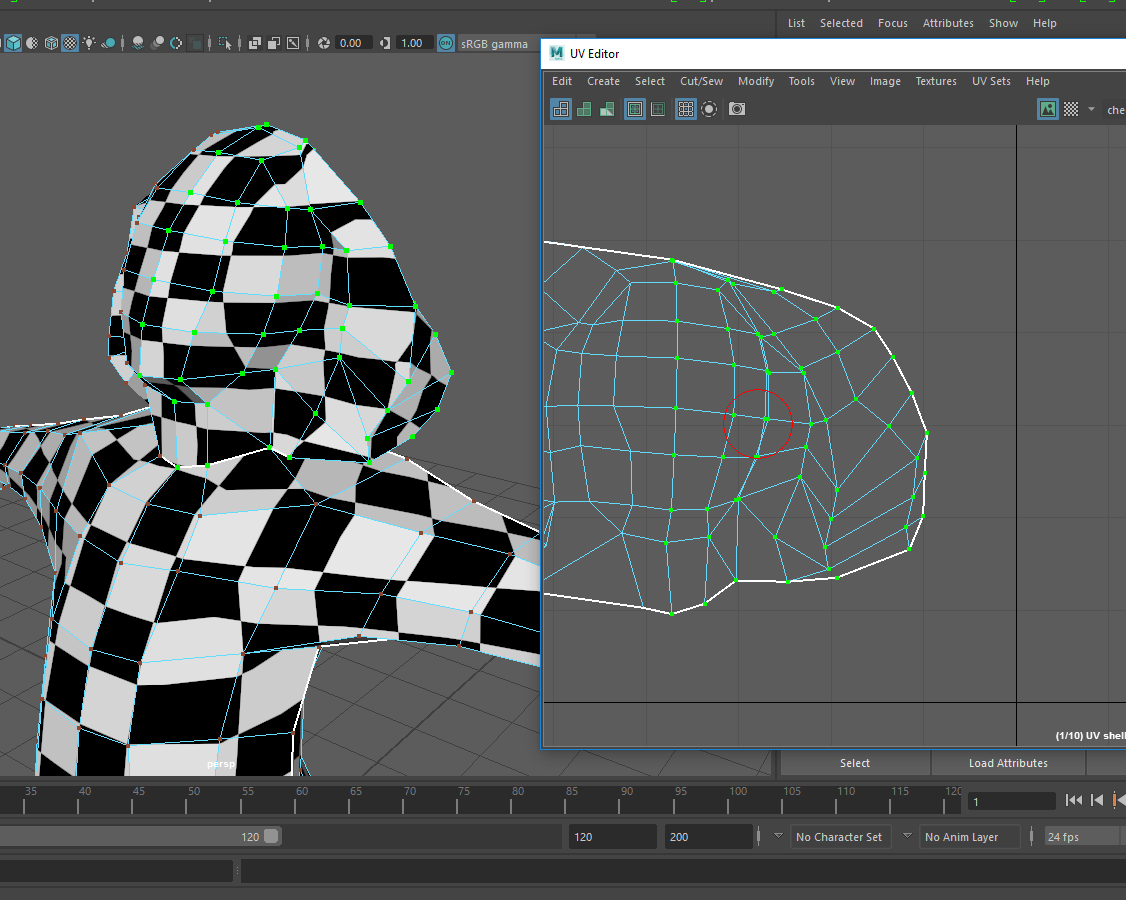
Select individual or groups of UVs, use Translate tool to move them around. For a faster process of manipulating multiple UVs at once use Tools/Smudge tool in the UV editor. By spreading UVs correct the crude distortions in model. You will continue fine tuning this once you assign the actual image based texture too. |
CUTTING, SEWING and STITCHING UVs
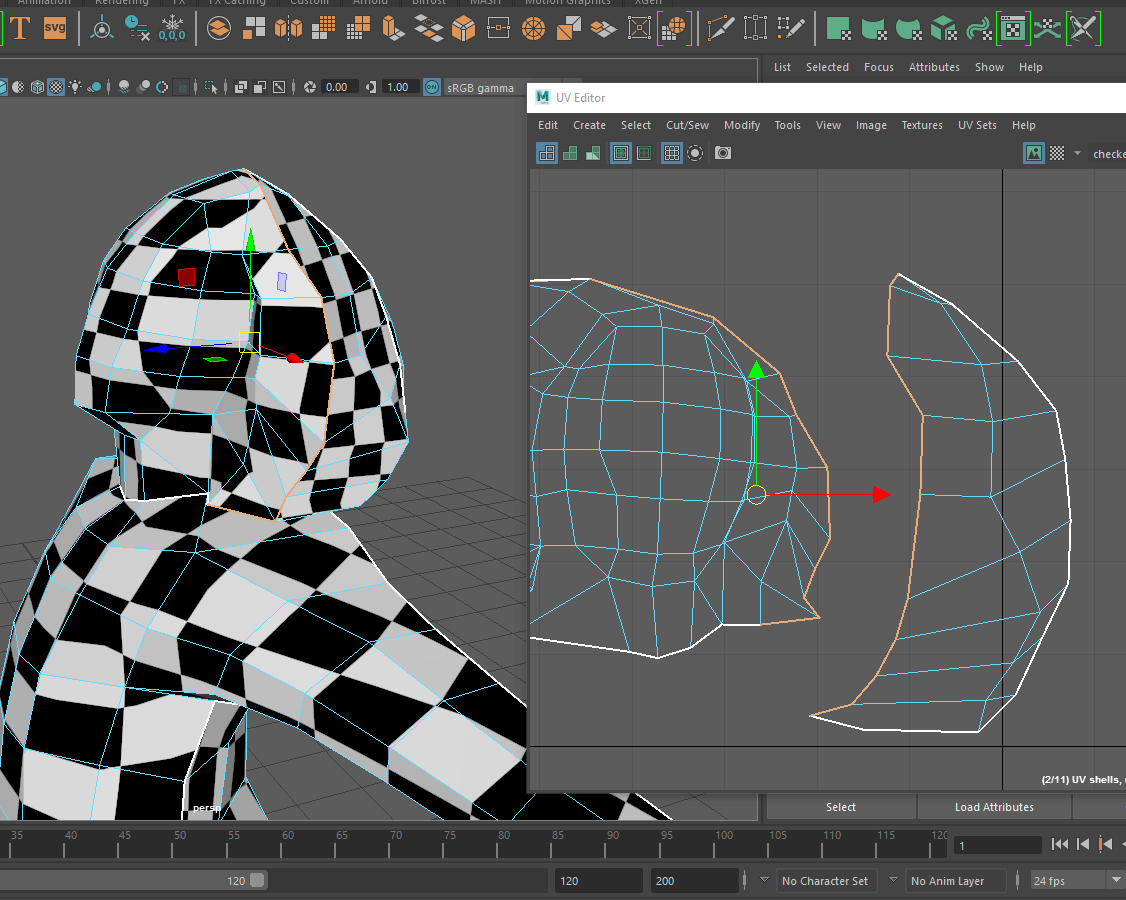 |
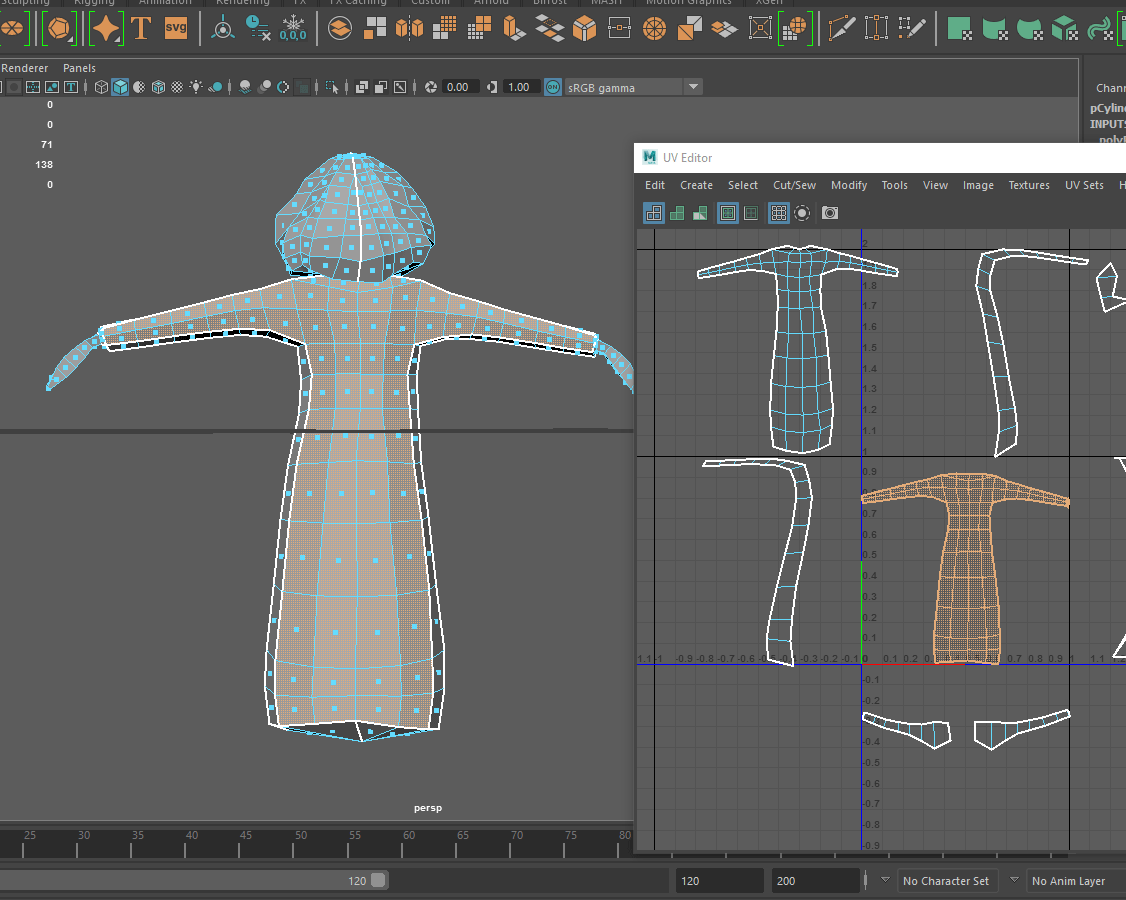
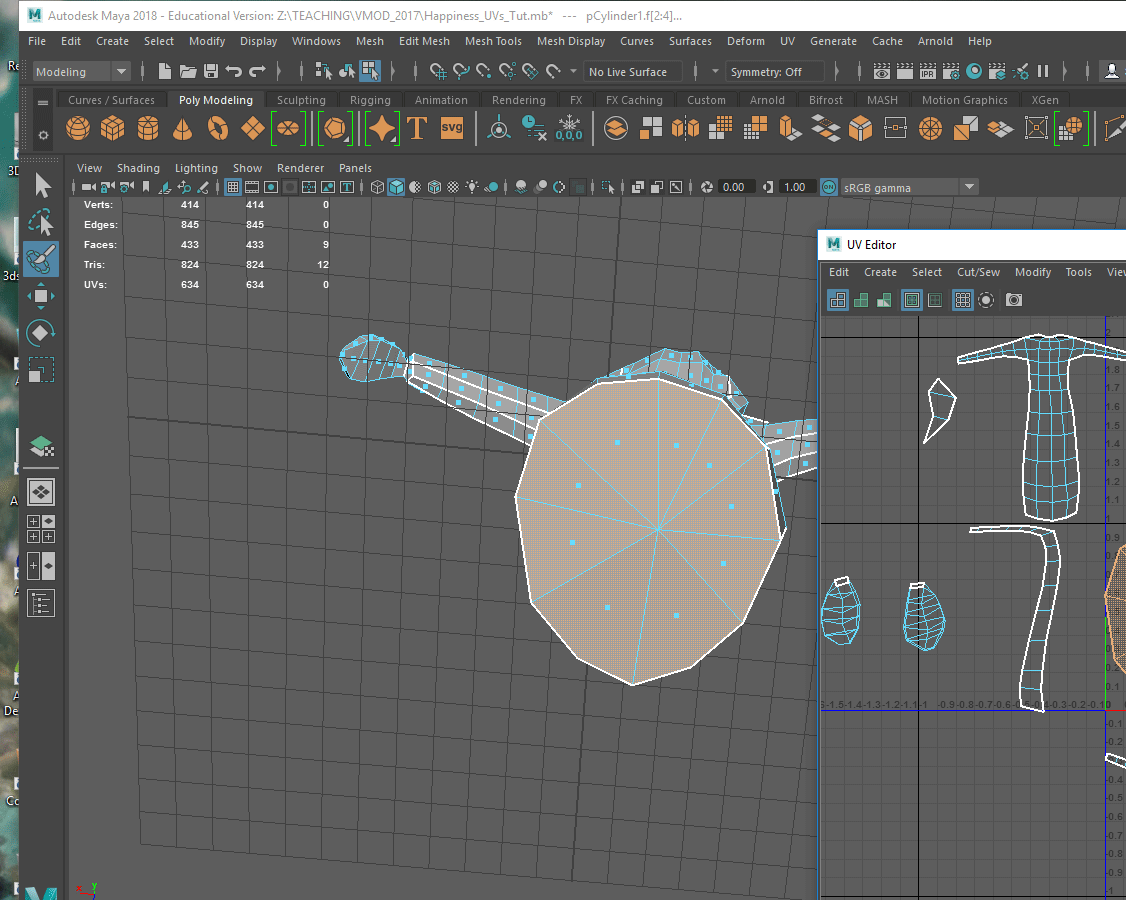
In this stage we will be combining multiple UV shells that have been projected so far into fewer pieces. This is done in order to minimize the amount of seams. To sew to shells together, select edges along one border. Observe the matching edges highlighting automatically on the other shell. Then in the UV editor go Cut/Sew - Stitch. This will merge two shells into one and reposition the secondary shell next to the original one while trying to minimally distort the UVs |
 |
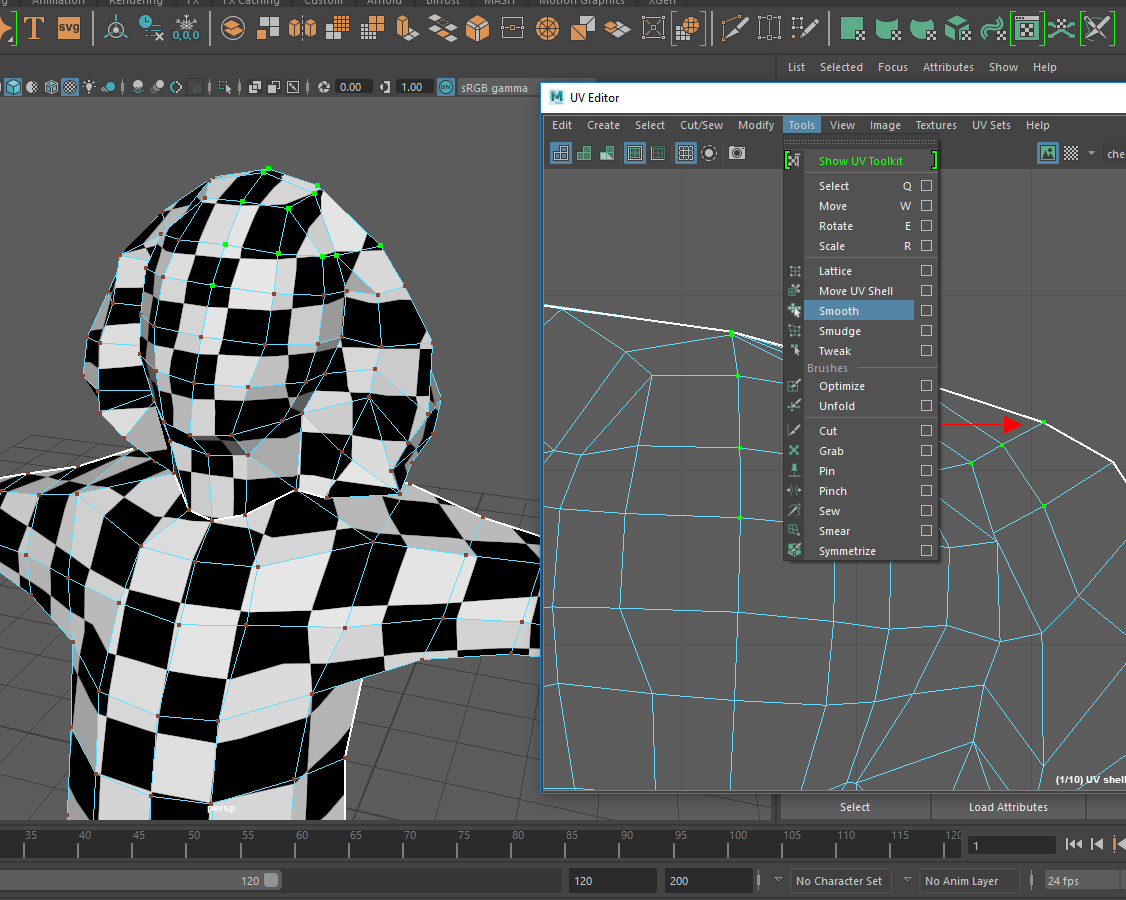
Use Smudge Tool (or other UV Tools in the same menu) to distribute UVs around the new shell to minimize distortion of the checker pattern. |
 |
|
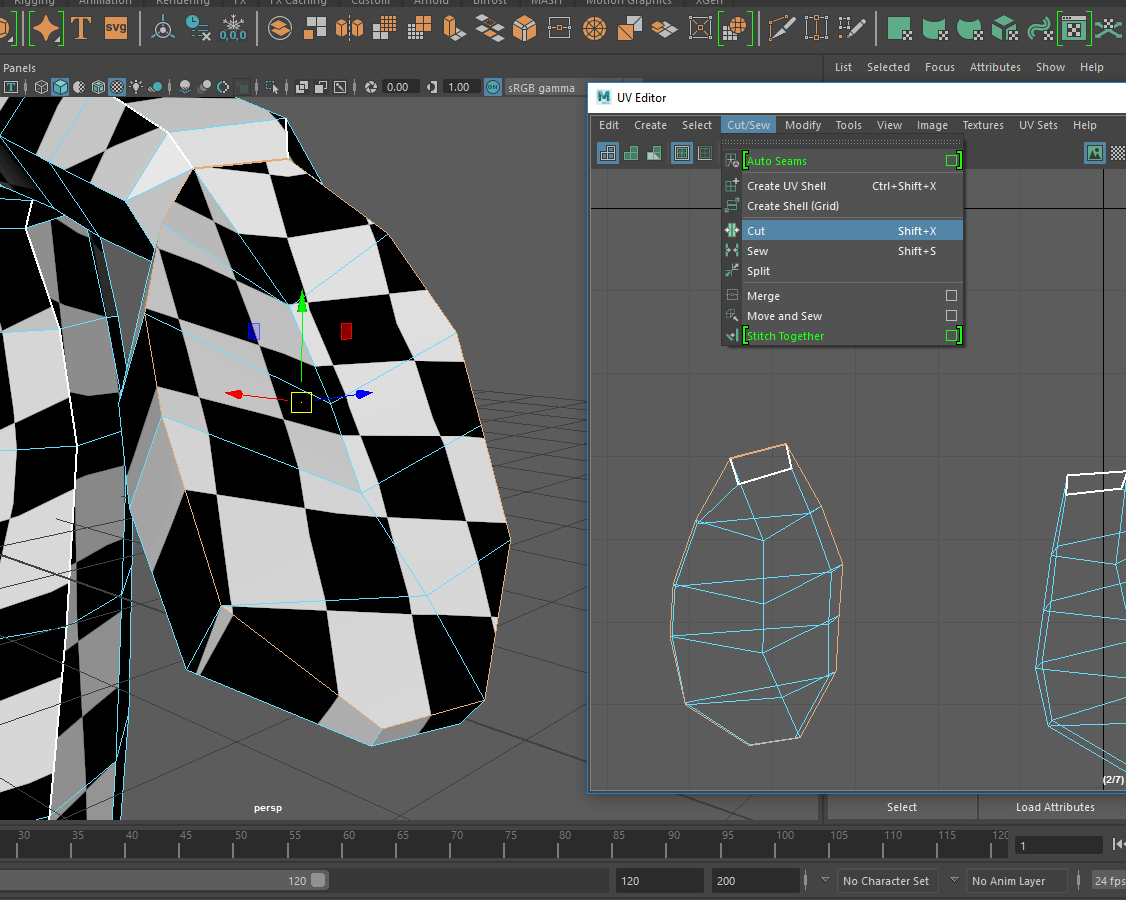 |
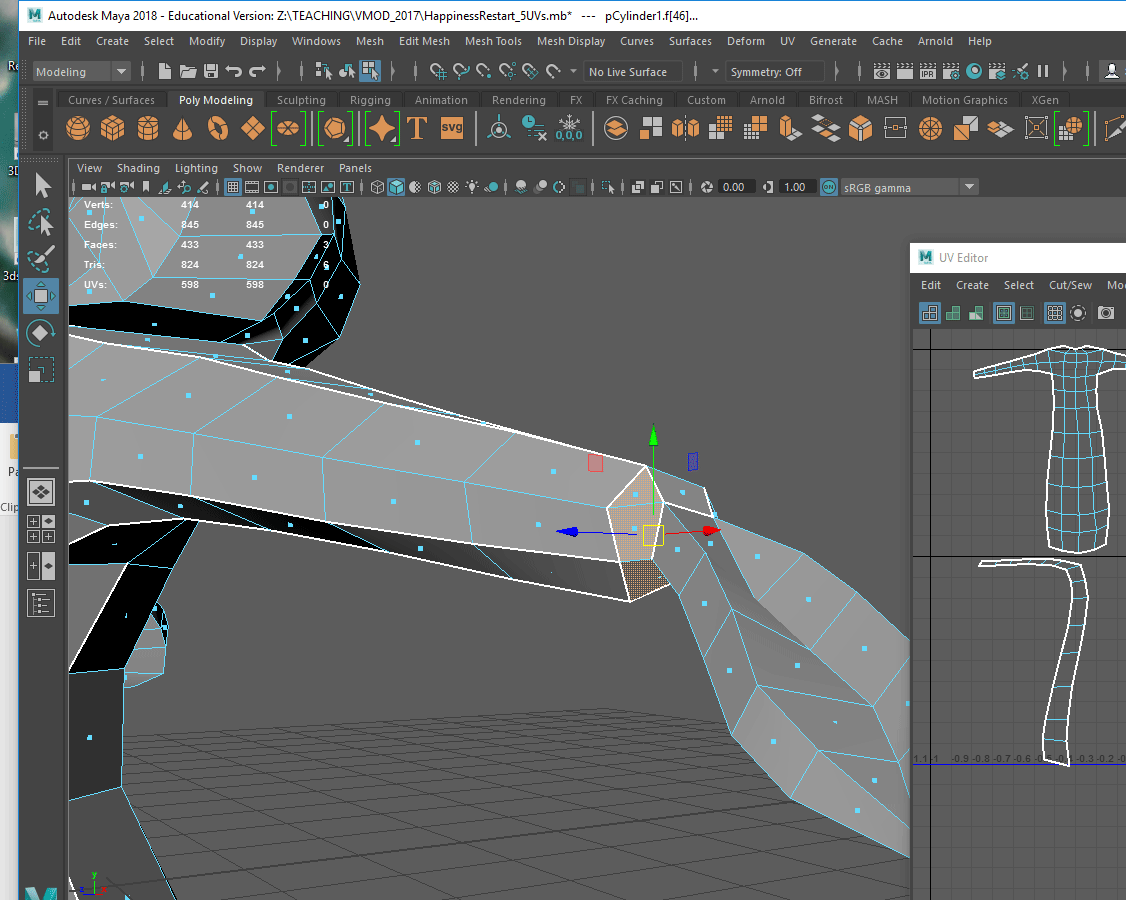
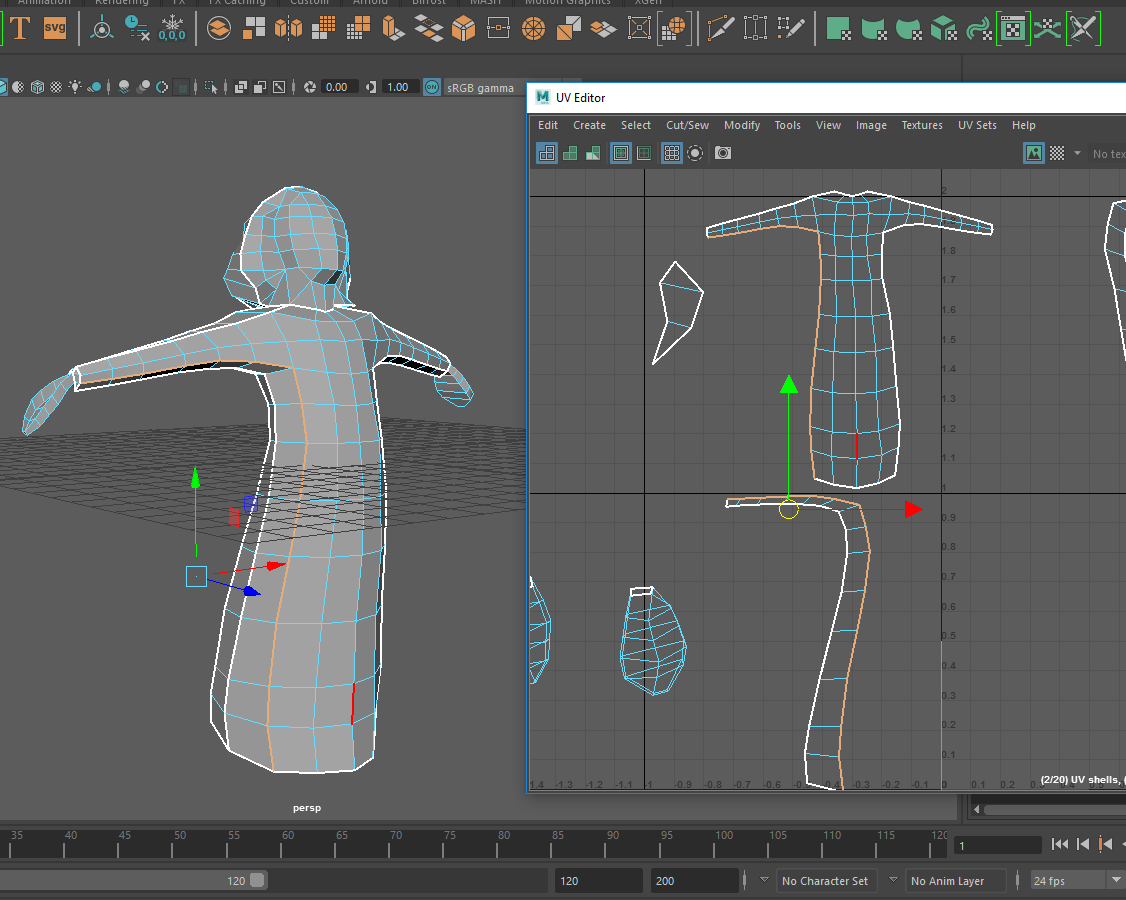
Select edges around each hand UV shell, go Cut/Sew - Cut Uvs. |
 |
Right click to activate UV shell selection mode. Select one of the hand UV shells and move it away. |
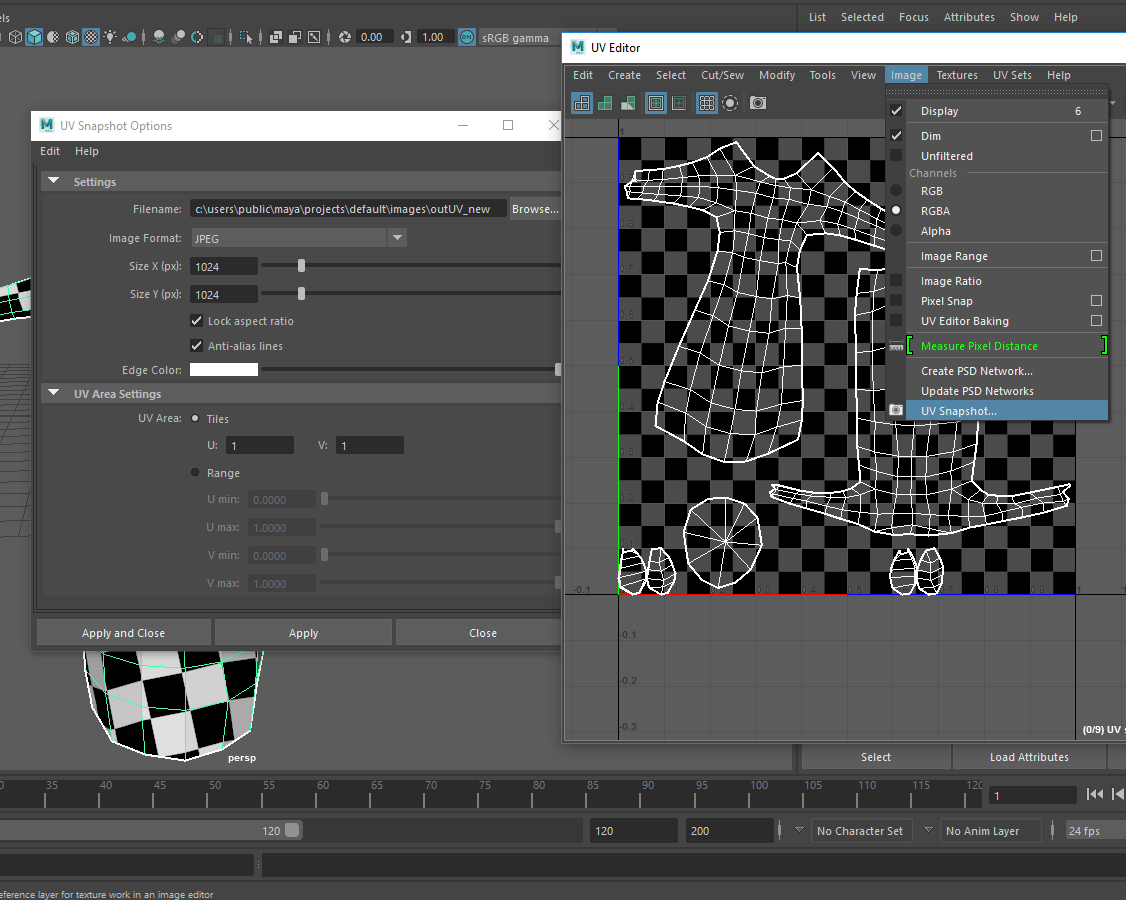 |
Arrange all the UV shells in the 0-1 quadrant. Then go Image/UV snapshot and save the snapshot of your starting UV layout.This will generate a file that you can open in Photoshop. (Specify the location, file format and texture resolution (ie 1024x1024) in the menu that opens. |
 |
In Photoshop use the UV snapshot file to copy and paste parts of your reference image. Turn off the UV snapshot layer and export a quick PNG file to test on your model. In Maya create another material. Pick File instead of Checker for texture this time. In the righ panel of the editor find the folder next to Image and select the texture PNG you just exported. |
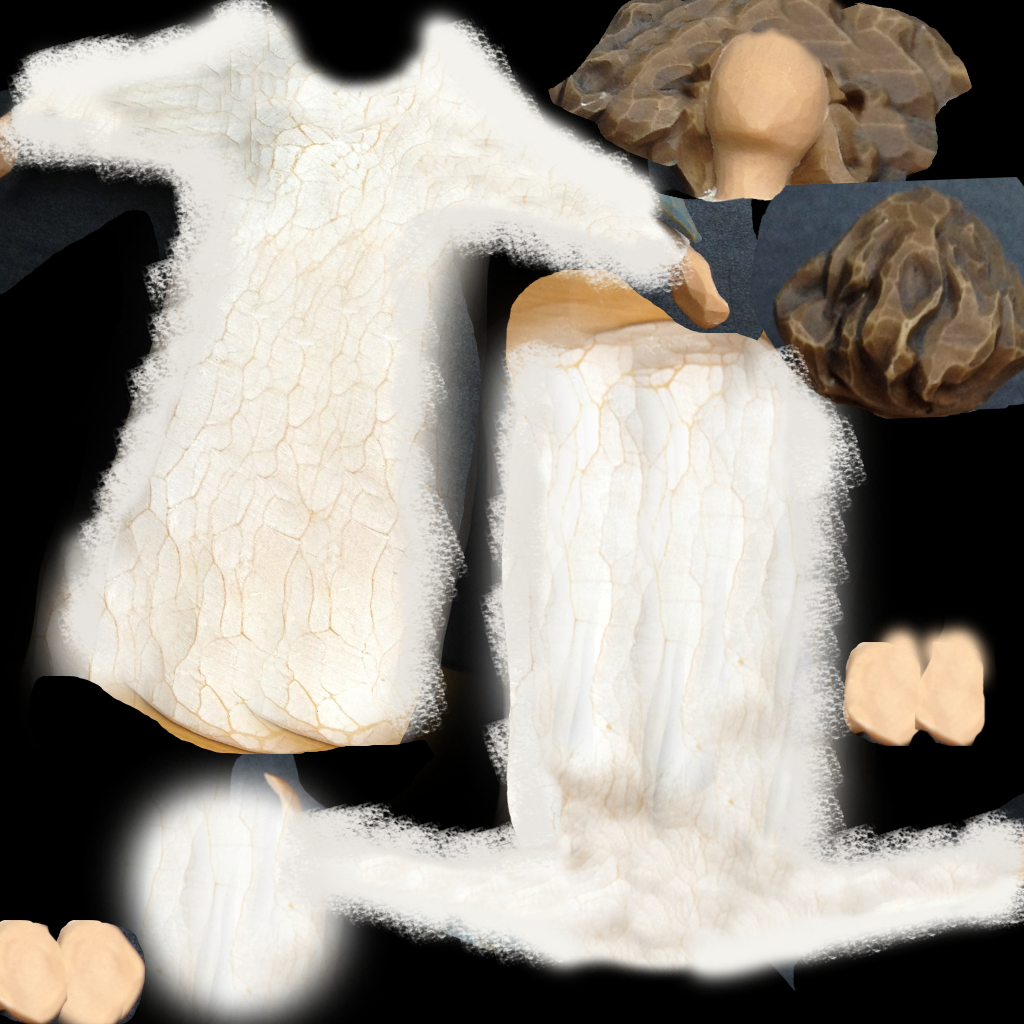 |
Use clone tool and brushes in Photoshop to adjust texture to cover the seams and accomodate lighting differences between photos. |


