Happiness Figure Suggested Modeling Steps


Save often!


1. In a Side and Front viewports: View/Image Plane/Import Image

2. Pick HappinessFrontTransp.png for the Front Image Plane and HappinessLeft.png for the Side Image Plane.

3. Manually move and scale the planes to your liking. You can also go to the Attribute Editor and adjust Alpha Gain to make the reference planes transparent.

4. With Images Planes selected create Display Layer. This will allow you to switch visibility of the image planes on and off.

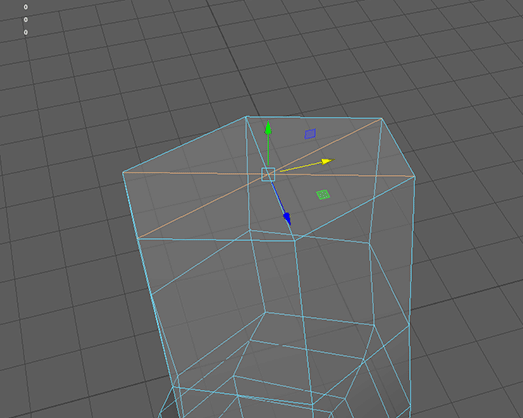
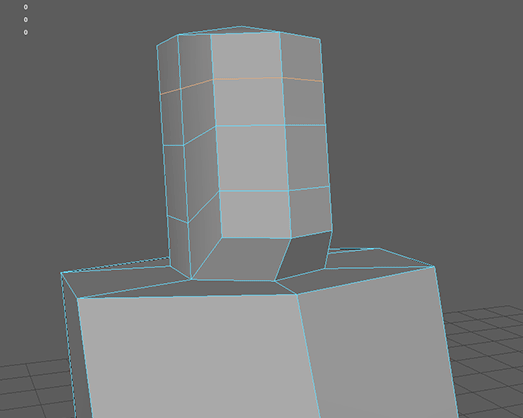
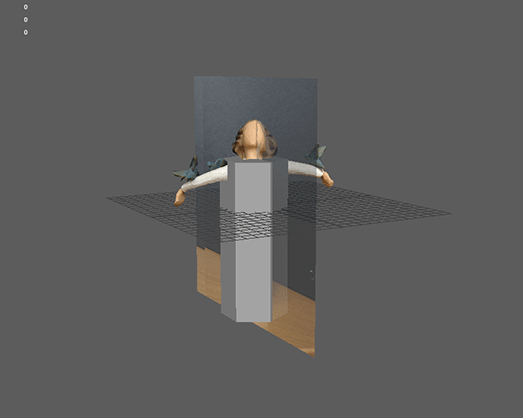
5. Begin modeling with a 6 sided cylinder. Scale it to fit the figure up to the chin. Insert 3-4 edge loops.

6. Adjust edges or vertices of the edges to fit the contours of the figure from front and side. Be aware that if you are planning to Edit/Smooth the model, the figure will shrink a bit.
7.Delete diagonal edges on top.
8.Extrude the remaining faces, scaling them down and then extude up.
9. Extrude the two new front faces a little forward and scale down.
10. Extrude the front two faces forward.
11. Add three edge loops.
12. Select edge loops around the head and Edit/ Mesh Circularize.
13. Extrude the faces on the side and back of the head to form hair
14. Manipulate edges and vertices to shape the hair
.
15. Delete half of the figure, then extrude an arm.
16. Extrude the hand with three divisions, use vertices to shape the hand.
17. Use Multicut tool to add edge loops and shape the palm better.
18. Mirror the geometry back together.
19. Keep adding subdivisions to refine the form until you reach the budget limit.

Back to 749 Back to 751