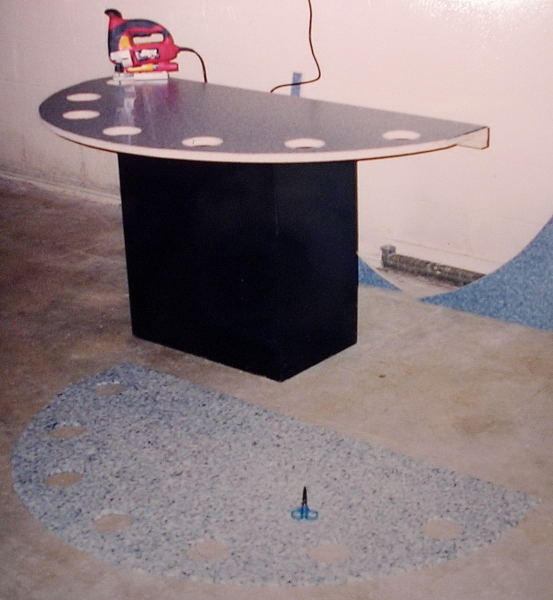
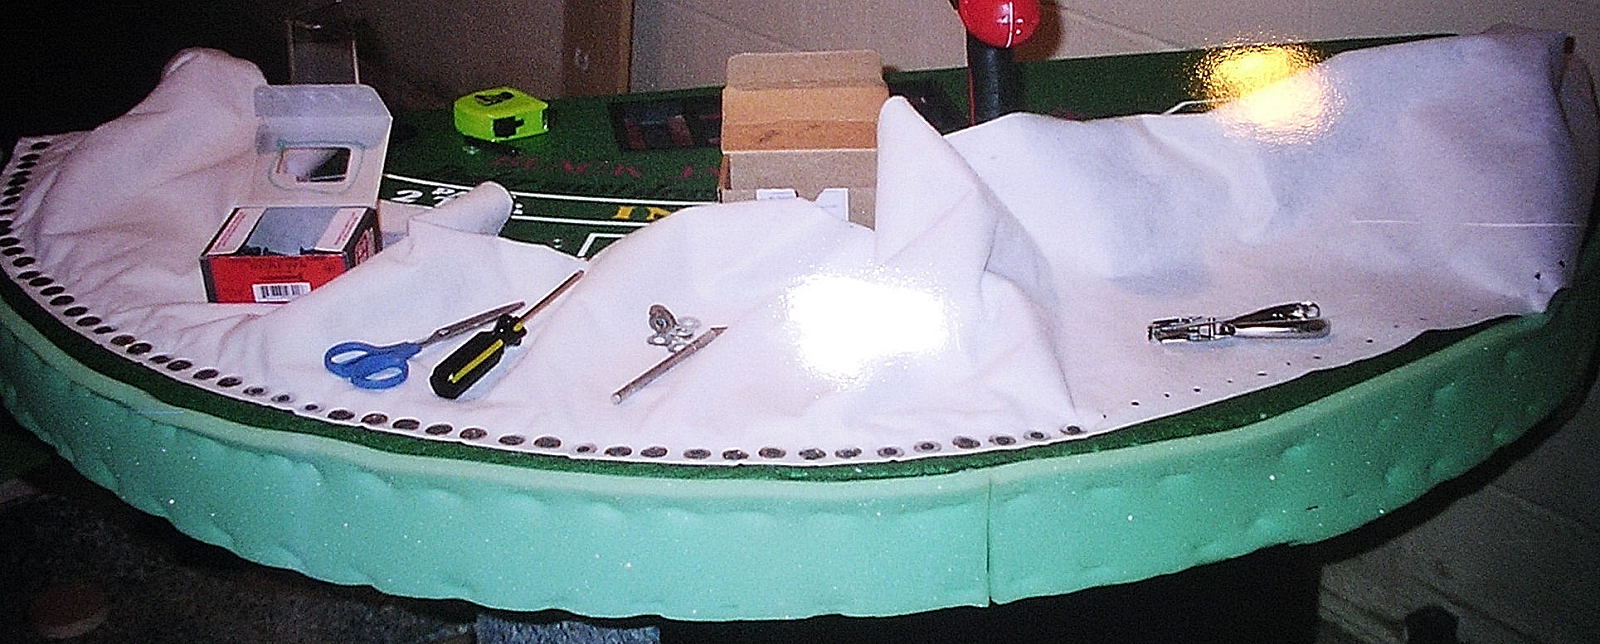
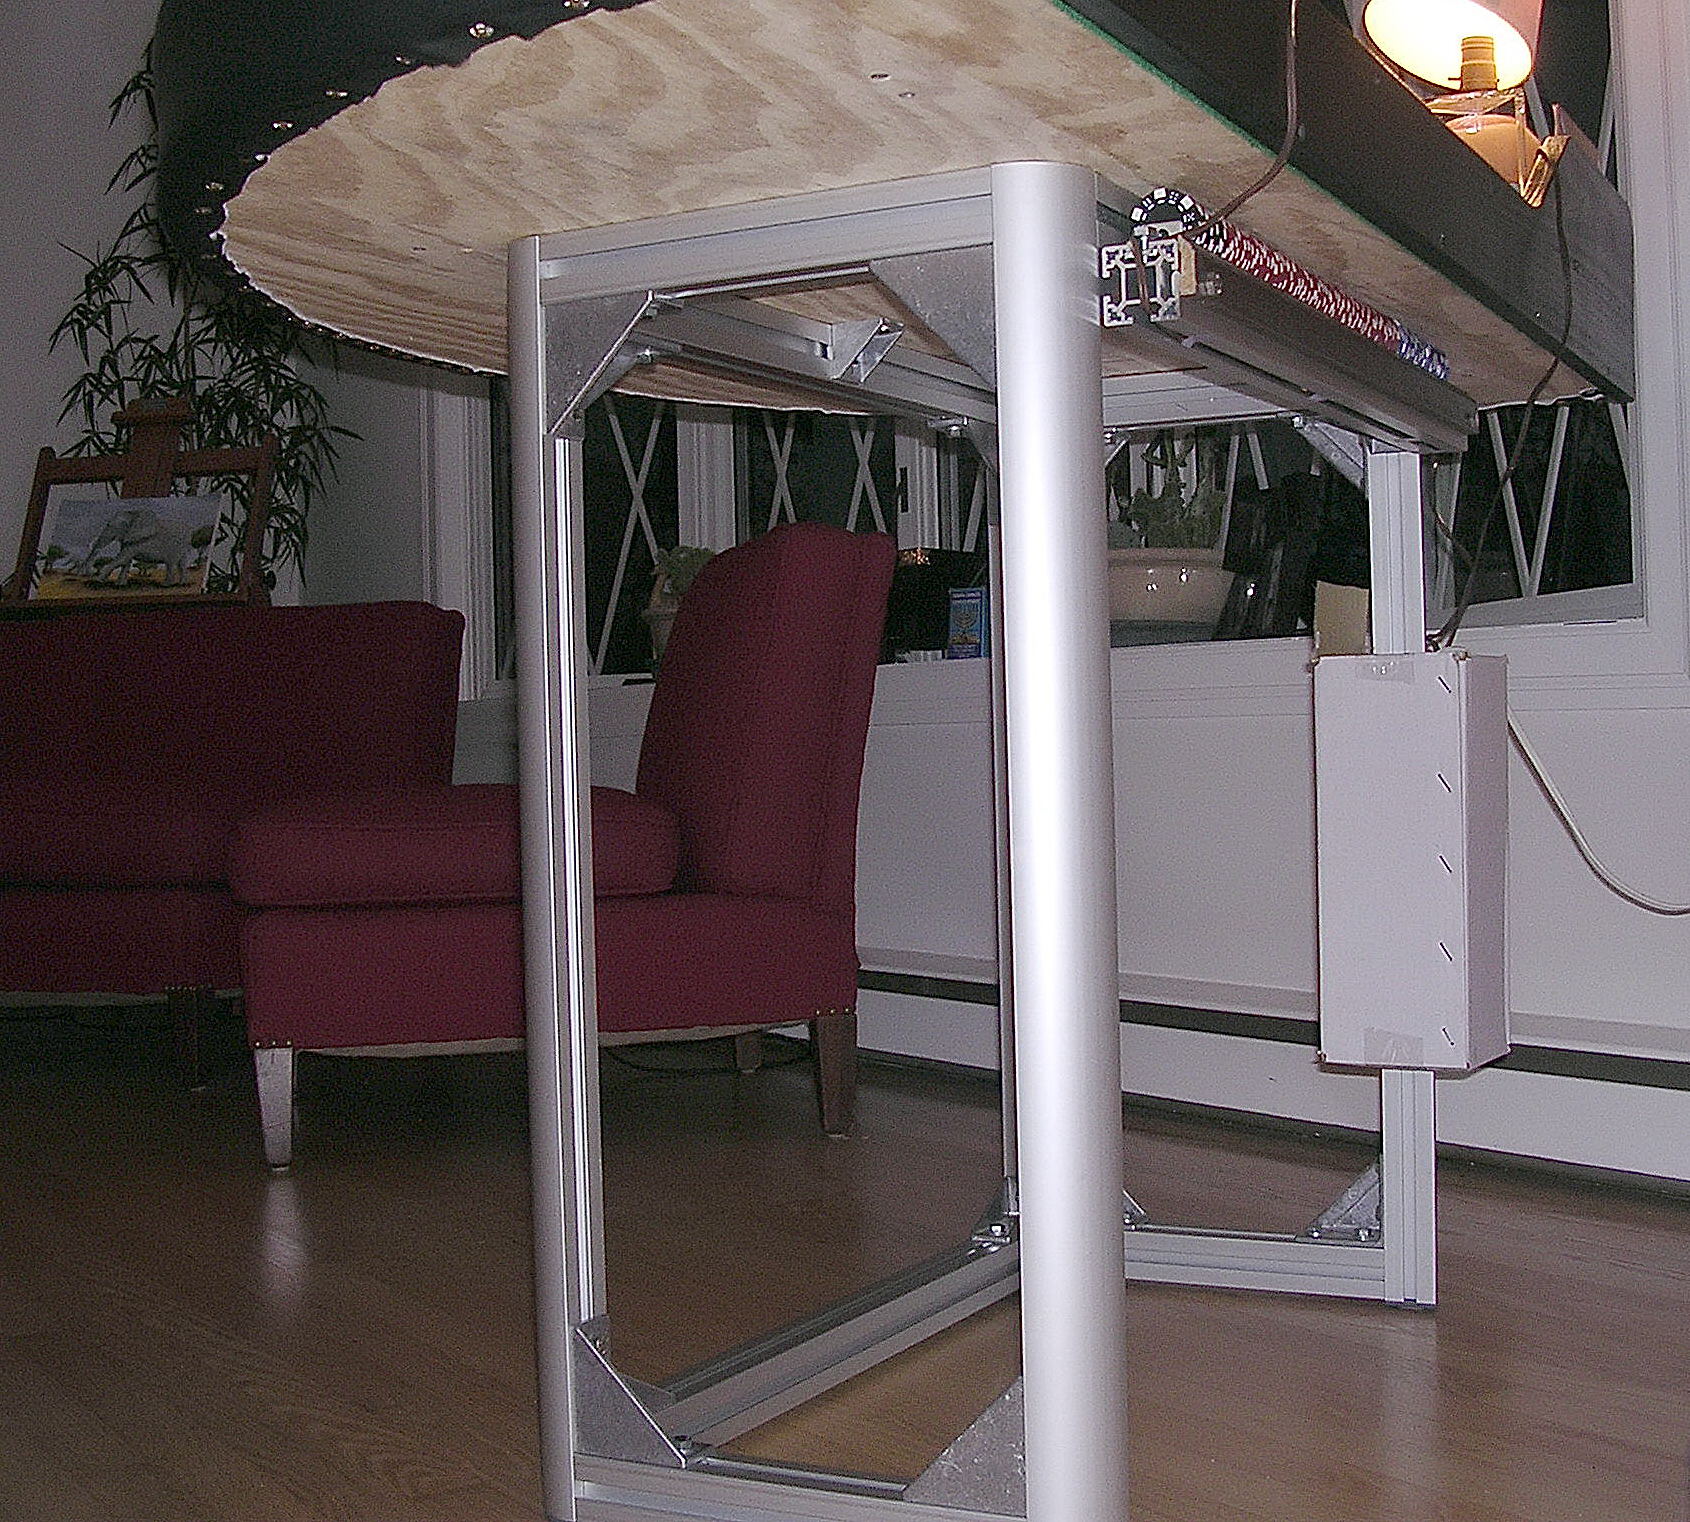
The top was a scrap counter top turned upside down. The table is very rigid.
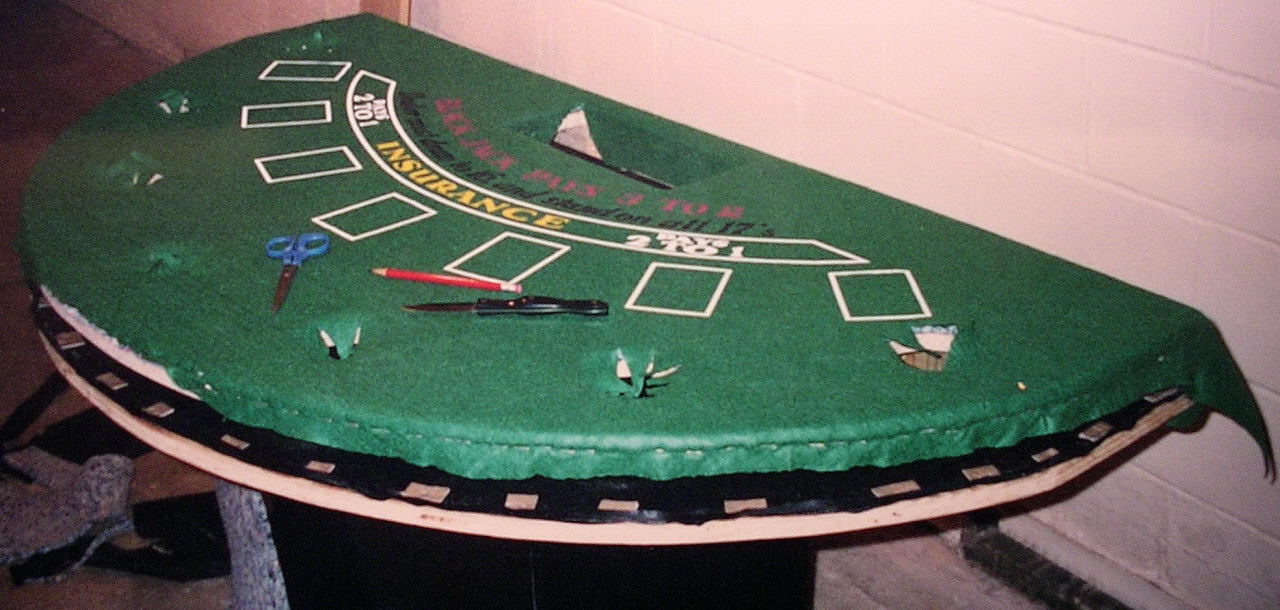
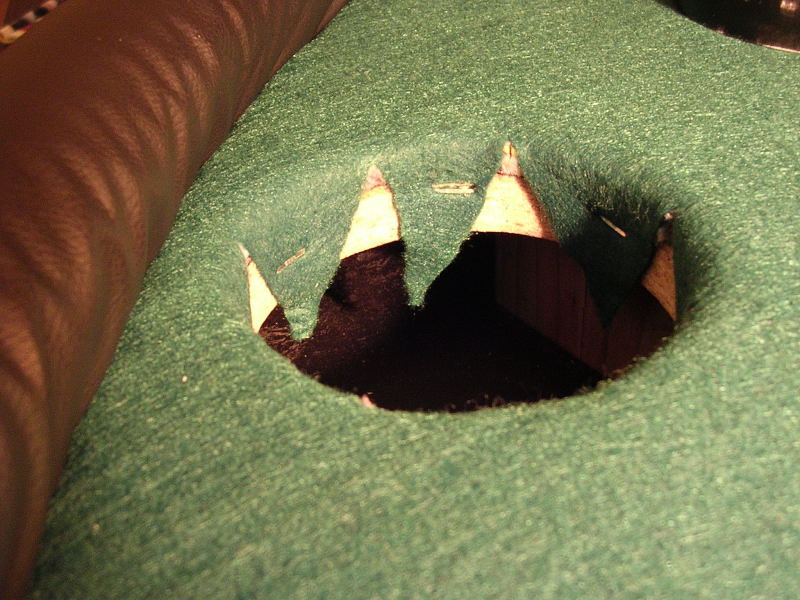
I screwed the armrest material into the table(in about 100 places) and held it down with giant washers. This prevents the matl from getting ripped out. However i had to punch out holes in the material so that the screws would not grab and twist as I was installing. Used 2" foam insulation from home depot. Also used batting around the outside edge to give it more cushioning. Base was made of aluminum extrusion and die cast angle brackets.(industrial machine building componenets)
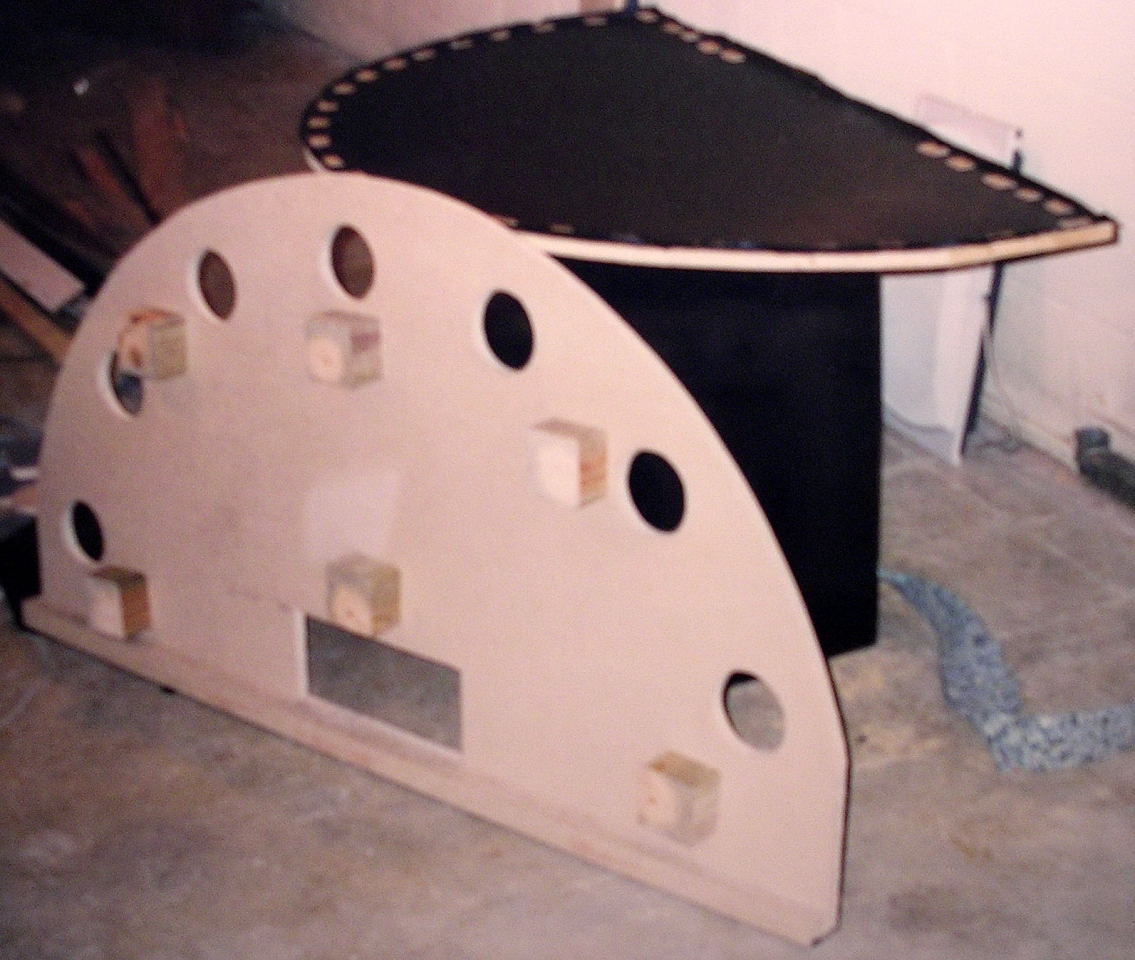
I covered the lower deck with black plastic tablecloth material so that i did not need to paint it.
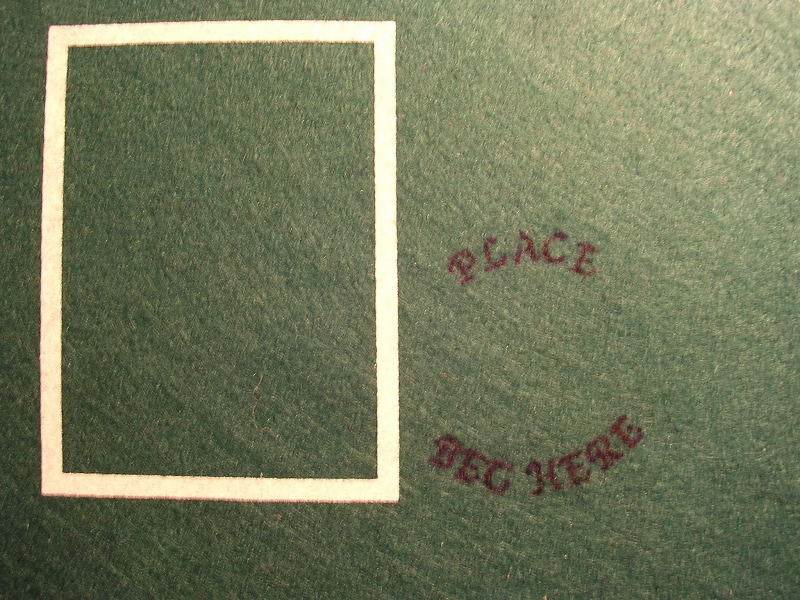
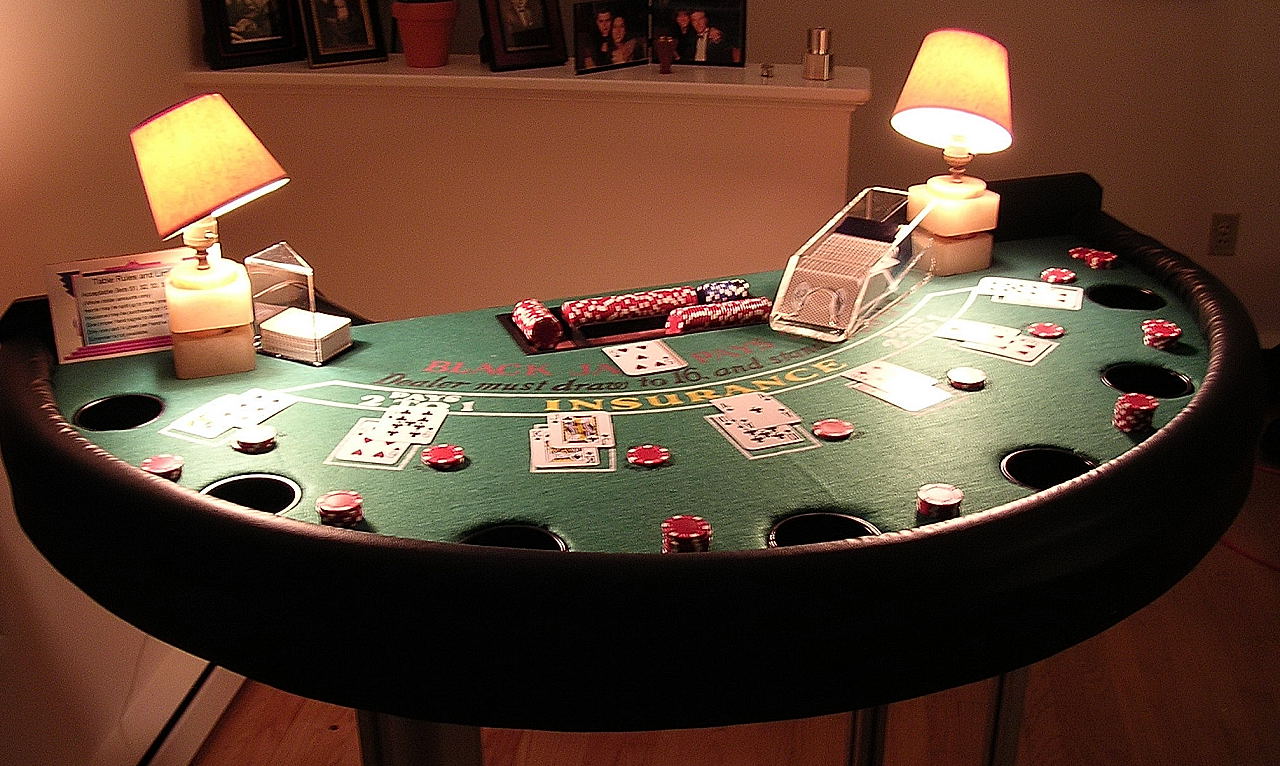
I stenciled the "place bet here" onto the table at each station so that people know where to place there bet. I experimented many times with the stencil on scrap felt, the best stenciling medium is a fine point roller ball black ink pen. It was almost a tattooing motion taking a ridiculous amount of time. But the end result is nice. There is potential for smearing, perhaps I will coat the ink with some clearcoat spray. Purchased the lettering stencil and template at an arts and crafts store.
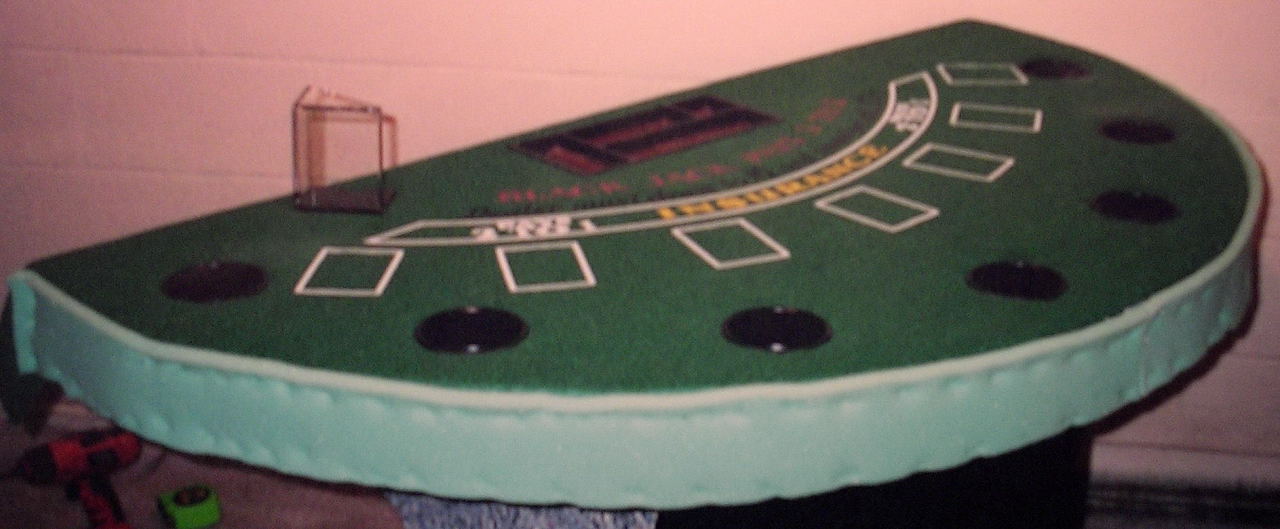
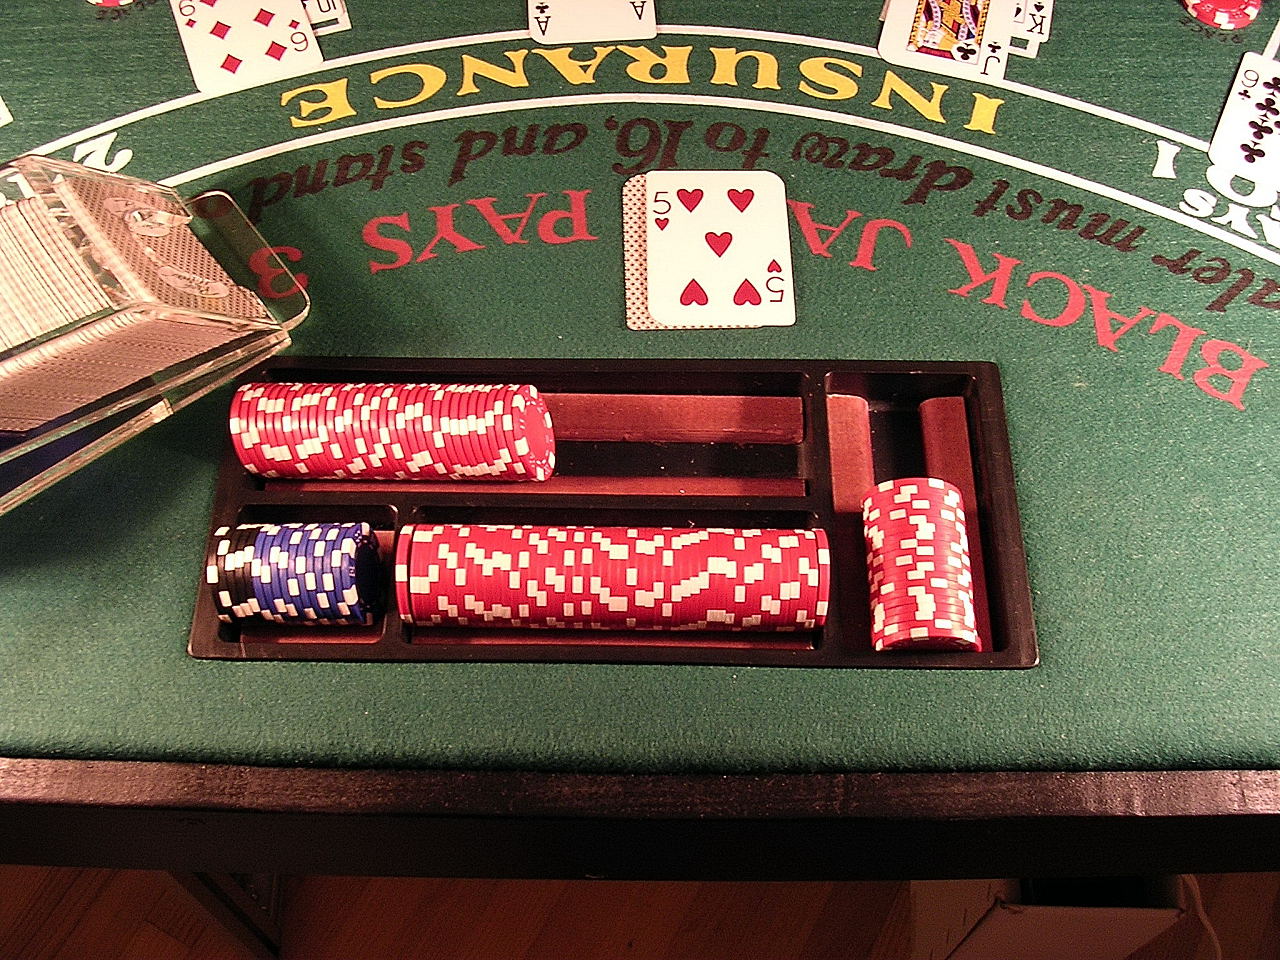
The chip tray is a desk drawer organizer. I glued wooden trim strips so that the chips are centered.
The table is a little cozy at only 59" wide and 34" deep, but for blackjack it is more fun and easier to transport.
The lights add a nice touch of ambience.
Next upgrade is a bill slot.