 and you'll see something like this:
On the internet there are some fun games where you control a circle-looking-thing that you can move around and interact (and potentially destroy or absorb!) other circle-looking things controlled by other people. Two games that come to mind are diep.io and agar.io. There are plenty of others like them out there.
Hopefully you completed the "move the blob" exercise! You really need to finish that exercise before moving on to this one!
In the move the blob exercise the blob would have a "constant velocity" depending on which arrow keys were pressed. This was a fun thing to code up, but it is not very realistic. In real life, objects do not go from having zero velocity to constant velocity in an instant. For example, in a car when you put your foot on the gas, you do not instantly go from 0 mph to 60 mph. It takes at least a few seconds or more to get up to speed.
In equations, here is what the code in move the blob was calculating: $$x = x_0 + v_x \cdot \Delta t$$ $$y = y_0 + v_y \cdot \Delta t$$
In the code we represented $v_x$ as vx and $v_y$ as vy. The arrow keys determined the value of vx and vy. The time interval ($\Delta t$) was represented by dt which is an abbreviation for "delta t".
In real life, objects accelerate up to a particlar velocity. This exercise will show you how to modify the move the blob exercise so that the blob accelerates in response to the arrow keys, instead of the arrow keys directly controlling the velocity. The code that we create will compute these equations: $$v_x = v_{x0} + a_x \Delta t$$ $$v_y = v_{y0} + a_y \Delta t$$ $$x = x_0 + v_x \cdot \Delta t$$ $$y = y_0 + v_y \cdot \Delta t$$
In the code $a_x$ will be represented by ax and $a_y$ will be represented by ay.
Step 1. Look at a computer code for a blob that can only accelerate in the x-direction!
Click here to open up the computer code in a new tab!
In the top left corner, press and you'll see something like this:
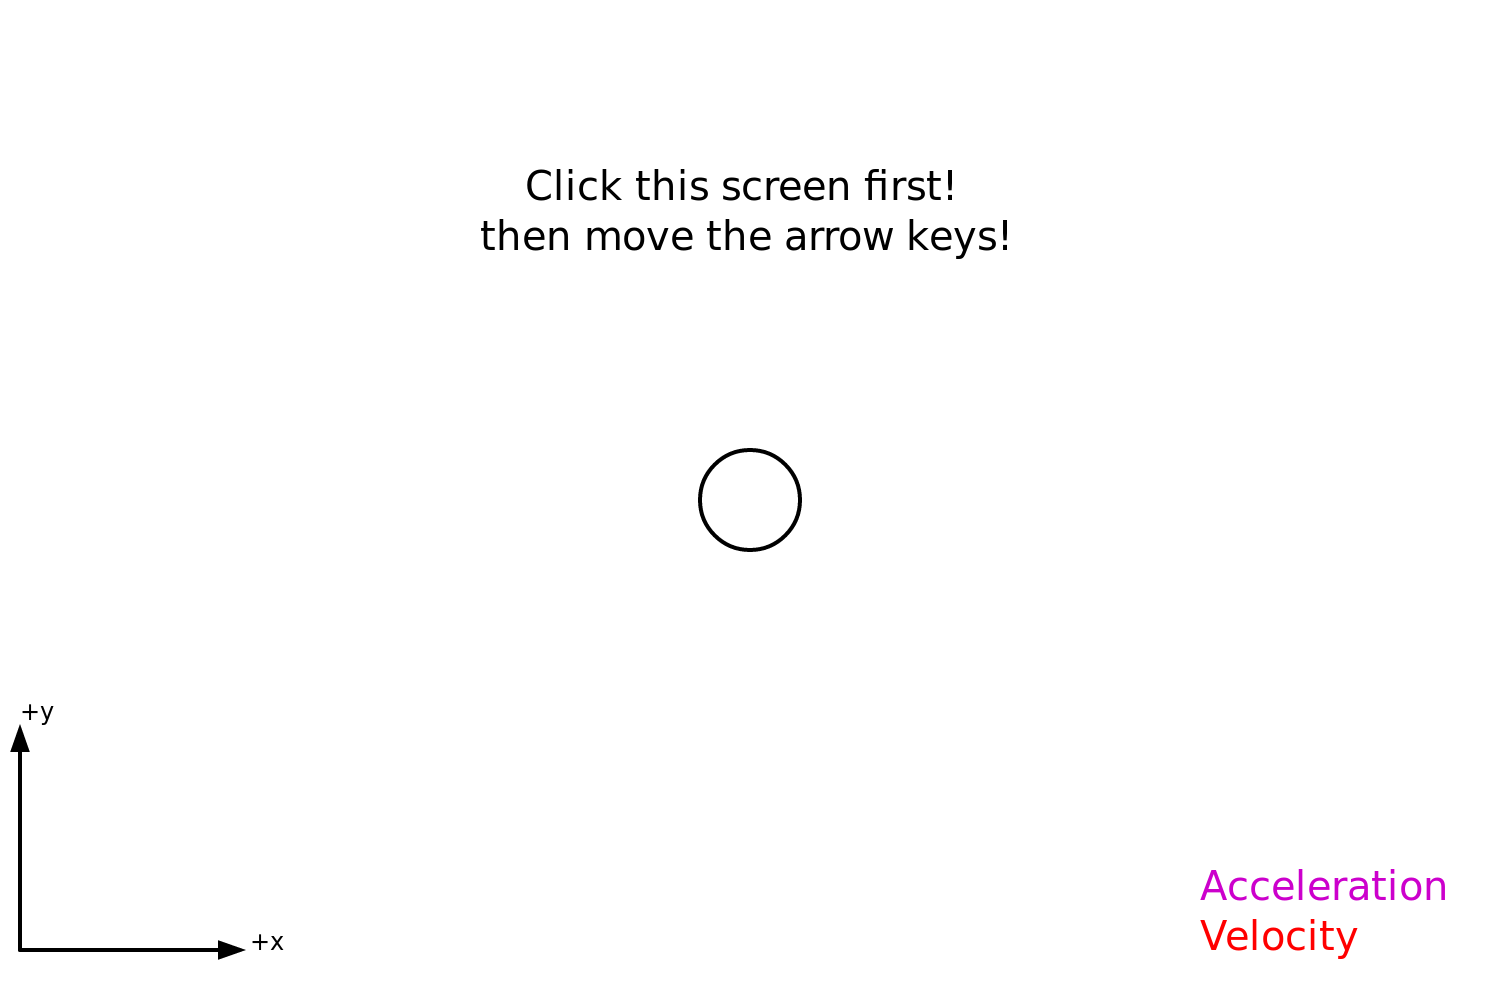
Do what it says! Click the screen! Press the arrow keys on your keyboard to see how the blob moves! The blob will only move when you press right arrow!
Your job will be to modify the computer program to make the blob accelerate in other directions!
Step 2. Log in to your account (if you want to save your work)
Log in to the account you created for move the blob by pressing "Log In" in the top right part of the screen. If you do not want to create an account the only way to save the code is to highlight the code with the mouse and copy paste into another program like MS Word or something else.
If you sign in click "Duplicate" to copy a version of the code to your account!
Step 3. Look at the code! Read the //comments in the code
Here's the code. Each section does something important. Bear in mind that draw() is run over and over again, 60 times per second in fact. This means that 60 times per second, the code will update the $x$ position, and check if the keyboard keys are being pressed.
function draw(){

    // Update velocity
    vx += ax*dt;

    // Update location
    x += vx*dt;

    // acceleration is zero unless keys are pressed
    ax = 0;

    // Turn or thrust the ship depending on what key is pressed
    if (keyIsDown(LEFT_ARROW)) {
        // Do nothing
    }
    if (keyIsDown(RIGHT_ARROW)) {
        ax = 2;
    }
    if (keyIsDown(UP_ARROW)) {
        // Do nothing
    }
    if (keyIsDown(DOWN_ARROW)) {
        // Do nothing
    }

    // Draw axes and other stuff
    // This will clear the screen and re-draw it
    display();

    drawBlob(x,y,vx,vy,ax,ay);

    // Add more graphics here before the end of draw()

} // end draw()
Compare this to the code from move the blob. Do you notice the differences? Do you notice the new sections of the code and the new variables for the acceleration?
Your job will be to replace the "Do nothing" with something that will allow the blob to move in both the $x$ and the $y$ directions.
Step 4. Make the blob move to the left!
What happens when you change this section:
    if (keyIsDown(LEFT_ARROW)) {
        // Do nothing
    }
to this:
    if (keyIsDown(LEFT_ARROW)) {
        ax = 2;
    }
Now when you press the left arrow does it move the blob to the left? Why or why not? How might you fix this? (Hint: this seems to only move the blob in the positive x direction. If only there were some way to make it move in the negative x direction.)
Change the program until you can move the blob to the left or right as in this example
Step 5a. Modify the code so that ay = 2 if you press the up arrow
By now you've noticed that to get the blob to move in the +x direction when you press the right arrow, there is a section of the code that sets ax to 2 when you press the right arrow:
    if (keyIsDown(RIGHT_ARROW)) {
        ax = 2;
    }
Let's make sure something like this happens when you press the up arrow. Find this part of the code:
    if (keyIsDown(UP_ARROW)) {
        // Do nothing
    }
and replace // Do nothing with ay = 2; Can this move the blob in the y direction when you press the up arrow? (Hint: maybe not!)
Comment: Leave the down arrow section alone for now. We'll work on that later.
Step 5b. Make sure the acceleration changes the velocity in the y direction
Compared to the code from move the blob there is a new section:
vx += ax*dt;
This will change the velocity in the x direction if the object is accelerating in the x direction. Make the change blow to make sure the object's velocity in the y direction changes if there is acceleration in the y direction.
// Update velocity
vx += ax*dt;
vy += ay*dt;
Now try moving the blob in the y direction again by pressing the up arrow! Your code should behave like this. Did anything change? Does the blob actually move? (Hint: maybe not! Look at the next part)
Step 5c. Make sure the x AND y position are getting updated!
In order for the blob to move in BOTH the x AND the y directions, we need to make sure that both the x and y positions are getting updated. This task has to do with this part of the code:
    // Update location
    x += vx*dt;
Let's talk about this line of code before we add anything to it:
Comment #1 x += vx*dt is how a computer thinks about this equation:
$$d = vt$$
We like to think about the total distance ($d$) traveled after the total time ($t$) elapsed. Computers like to think about short periods of time that last dt seconds long, so that the total time is $t = N \cdot dt$ where $N$ is the number of short periods of time and $dt$ is the number of seconds (or fraction of a second) of one of these short periods of time.
Comment #2 dt is short for "delta t" = $\Delta t$. In other words the "d" in dt comes from the greek symbol for "delta". dt is not a distance, it is a short period of time.
Let's look at the section in the code again:
    // Update location
    x += vx*dt;
You'll notice that there is nothing about y here. The only thing that gets updated is the x position. This is why in the previous step the y position didn't change even though the we set vy = 10 in Step 4a.
Add a line to the code above make sure the y position gets updated if vy is non-zero (Hint: it will look a lot like how we update the x position of the blob.
If you do this successfully your code should behave like this
Step 6. Fix the runaway acceleration!
If you run the code at the end of Step 5 and if you just tap the up arrow and don't press anything else you will notice that the blob will move upwards, but the velocity will keep increasing and increasing. This is very different from how the code behaves if you tap the right or left arrow keys. The blob will accelerate to the right or left and then it will continue with a constant velocity.
If you haven't already, look at this section:
    // acceleration is zero unless keys are pressed
    ax = 0;
Notice that there is nothing about ay here. Change it to this:
    // acceleration is zero unless keys are pressed
    ax = 0;
    ay = 0;
After you make this change your code should behave like this
Comment: This is how a computer thinks about Newton's first law: objects continue in a straight line if there are no forces (or acceleration)
Step 7. Let the blob accelerate in the negative y direction!
If you haven't already, modify the code so that pressing the down arrow accelerates the blob in the negative y direction. You would need to modify this part of the code:
    if (keyIsDown(DOWN_ARROW)) {
        // Do nothing
    }
Make sure that you add ay = -2; Now your code should behave like this!
Step 8. Add code to show the path of the blob
After display(); you can add this code and it will show the path of the blob:
    for( i = 0; i < xhistory.length ; i+= 1) {
     drawPoint(xhistory[i],yhistory[i]);
    }
Press the button above to copy the code to the clipboard. In the code editor press Control+V to paste it into the code.
When the blob changes direction is the path smooth and curvy or does the path have sharp corners? How does the path compare to "move the blob" from earlier?
Step 9. Add a plot of $v_x$ and $a_x$ versus time!
You can add a plot of $v_x$ and $a_x$ versus time by adding the code below anywhere after display()
graph1.addPoint(vx);
graph1.display();

graph2.addPoint(ax);
graph2.display();
Press the button above to copy the code to the clipboard. In the code editor press Control+V to paste it into the code.
This will show $v_x$ in red and $a_x$ in purple. Why does the plot look the way it does? Why does the acceleration look like a flat line whereas the velocity tends to have a slope?
Step 10. Give the blob an initial velocity!
Try this out: At the beginning of the program change this code:
x = 375;
y = 250;

vx = 0;
vy = 0;
to this:
x = 0;
y = 0;

vx = 25;
vy = 25;
Run the program and see what happens! Does it make sense?
Step 11. Give the blob a constant acceleration!
Now comment out or delete these lines of code:
// acceleration is zero unless keys are pressed
ax = 0;
ay = 0;
and add this code:
// assume constant acceleration
ax = 0;
ay = -2;
Press the button above to copy the code to the clipboard. In the code editor press Control+V to paste it into the code.
What happens when you do this? What does the trajectory look like?
Step 12. Graph y and ay instead of x and ax
Now modify the graphing code so that it plots y and vy instead of x and ax. That section of code should look like this:
graph1.addPoint(vy);
graph1.display();

graph2.addPoint(ay);
graph2.display();
Describe what happens!
Planetoids game
Move on to the next activity: The Planetoids Game
This activity involves a ship moving through space. It is a little bit more complicated than accelerate the blob because the ship can move and accelerate like the blob, but it also has a direction that it is pointing.
Dan Shiffman's Agar.io clone:
If you're feeling ambitious you can work through Dan Shiffman's step-by-step tutorial to re-create agar.io