
There is a well known two player game called Thai 21 that involves 21 flags. Each player can take 1-3 flags on each turn. The goal is to take the last flag on your turn (and prevent the other team from getting the last flag). Interestingly, this was part of an episode of Survivor. Feel free to watch the video to get a feel for the game.
There is no randomness in this game but there is a strategy you can use to win.
We are just going to focus on getting the game to work on the computer like it does on a table with pieces. Hopefully you are familiar with the rules of the game and have played it a few times. That is all you really need to know at this point.
We are going to code up the game so that two people can play Thai 21 with each other using the program.
Click here to open up the code
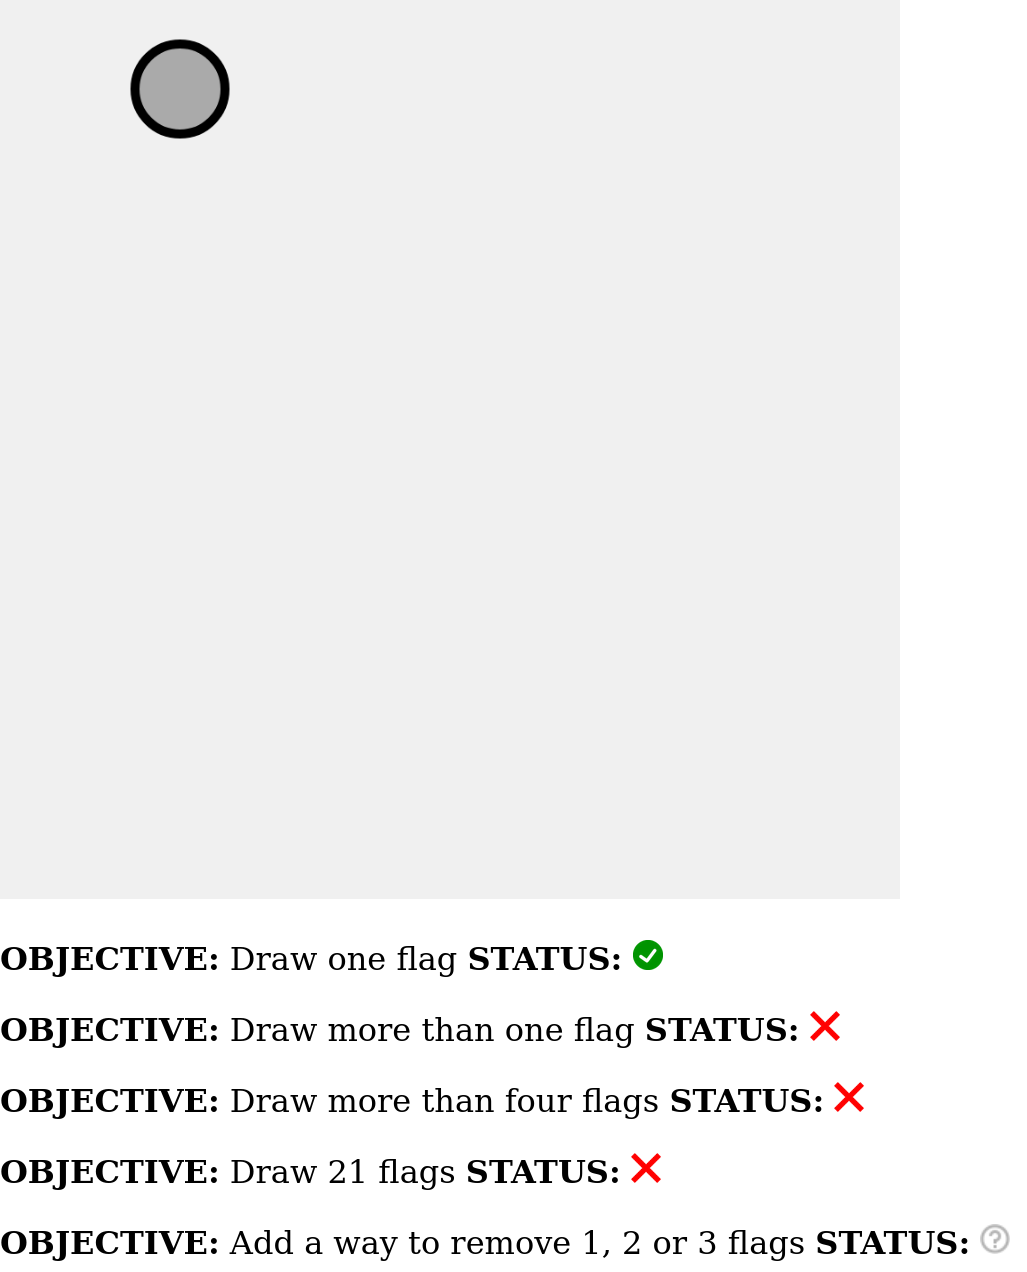
In the top left corner, press  to run the code and the output will look like this:
To save your work you need to create an account by clicking Sign Up in the top right corner of the screen. If you have already created an account, click "Log In" and put in your login information
A non-profit arts group called The Processing Foundation runs this site. They are nice people and they will not send you a bunch of emails for registering.
Before moving on, in the top left click click File --> Duplicate so that the code you are working with is on your account!
If the program can detect that something is wrong with your code it will show a red ![]() next to that objective.
next to that objective.
If the program can detect that you have completed the objective it will show a green check mark ![]() next to that objective.
next to that objective.
But the program is not very smart and if it can't tell whether you have completed the objective it will indicate a question mark like this ![]() next to that objective.
next to that objective.
By the end of this activity your goal is to have green check marks next to all the objectives like this:
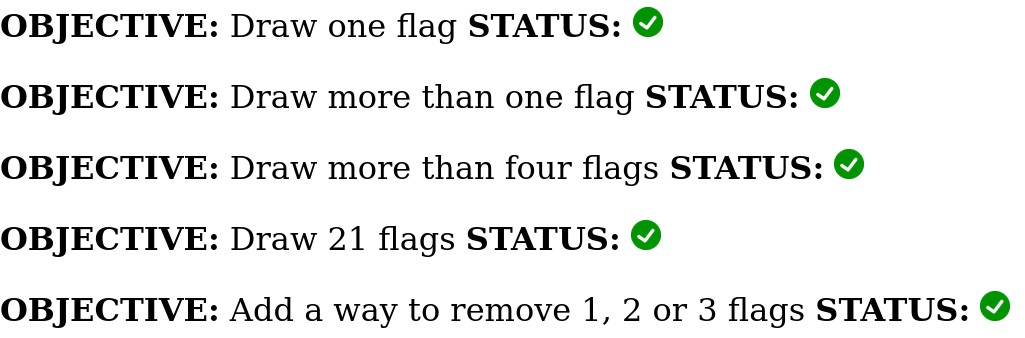
The directions below will help you meet all these goals.
The code here is pretty short. Here is the entire program:
showaxes = false;

function draw() {

  clearscreen(240,240,240); // light gray background
  display();

  // add code below to remove flags by pressing 1,2,3

  // Set the color of the flags
  fill(170,170,170); // dark gray
  stroke(0,0,0); // black edge

  // Define the flags below
  drawFlag(100,50); // x,y

} // end draw() DO NOT ADD ANY CODE AFTER THIS LINE!!!
There are a couple of things to note at this point:
1. The code at the very beginning before function draw() only gets run once. Right now the only code at the beginning is this:
showaxes = false;
Later we will add variables up there like the total number of flags (which is 21 initially)
2. The code within the curly brackets {} of function draw() gets run over and over (and over) again. This is helpful because we want the screen to change as different things happen in the game.
3. Anything after // is a comment. Comments are only to help people reading the code understand what is going on. The computer doesn't do anything with the comments. In the program there are comments that label what different parts of the code are doing. There are also comments that you will use later to know where to put in code.
4. For right now don't worry about the part that says // add code below to remove flags by pressing 1,2,3 We will return to that at the end.
There is code at the beginning of the program:
showaxes = false;
Change this to:
showaxes = true;
This will highlight the coordinate axes we are using in this program. Your program should behave like this
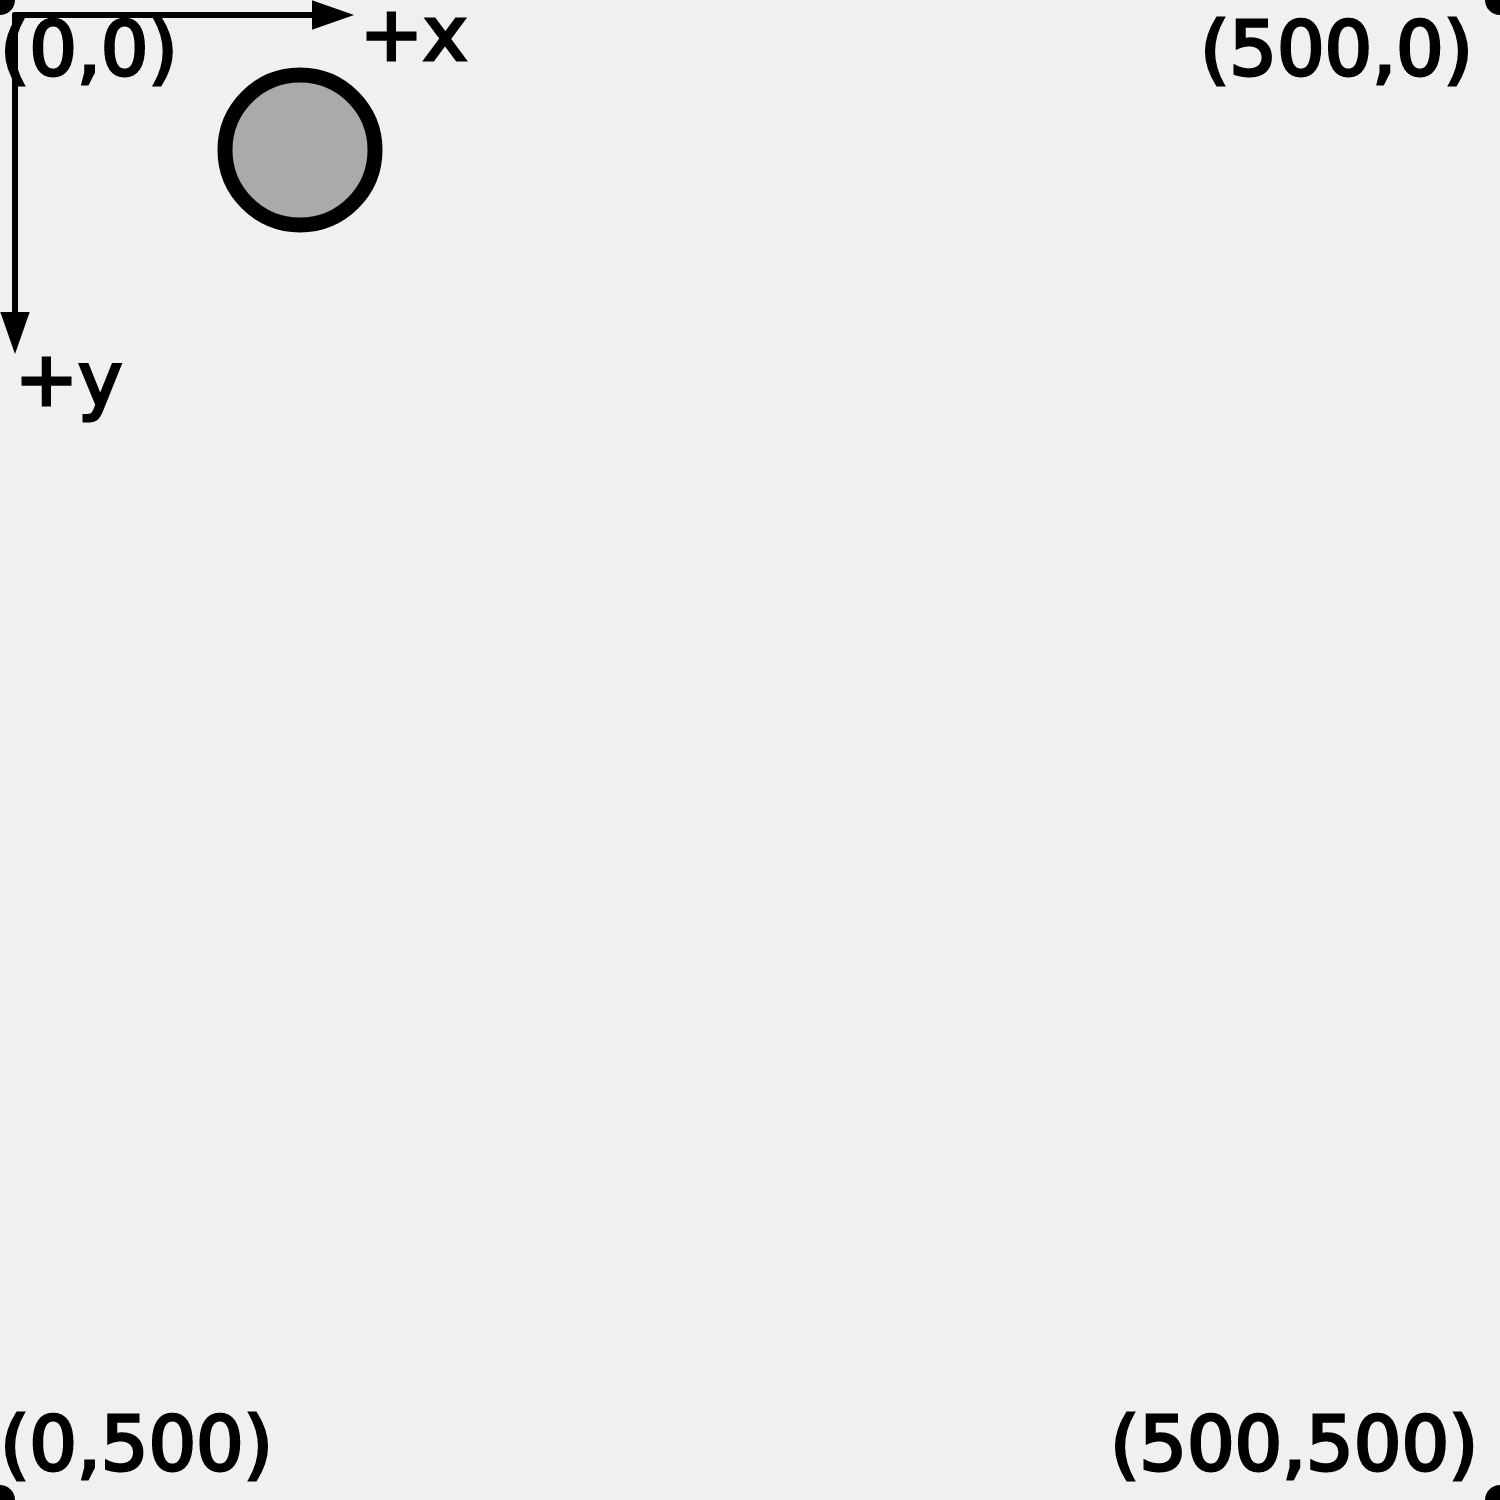
Understanding the coordinate system is very important for the next step!
Note: You can change showaxes back to false if you want to, or leave it set to true for the entire exercise. It is up to you!
You probably noticed that the game is Thai 21 but right now we only have one flag (which is no fun).
The simplest way to make sure there are 21 flags is simply to add more references to drawFlag like this:
  drawFlag(100,50);
  drawFlag(200,50);
In the code add 20 more references to drawFlag so it makes a grid like the one you see at the top of this page
Make sure to add your drawFlag commands AFTER the display(); function but before the } that ends the draw function
After you add each drawFlag command, press to run the code and see where it shows up
Note: It doesn't need to look exactly like the example. Just make sure there are 21 flags on screen in some sort of grid.
Change the fill and edge (also called "stroke") color of the flags using RGB values like this:
  fill(0,0,255); // r,g,b
  stroke(255,0,0);
The code above should give you flags with a red edge and a blue filled center
You can also change the background color by modifying the values in clearscreen:
clearscreen(0,255,0);
The rgb values above should give you a bright green background.
To pick out your own rgb color a helpful thing to do is to go to google and search on "color picker" Pick whatever color you want. Have fun!
In Step 4 we are going to use a coding structure called a for loop to draw the flags using only a few lines of code.
We do not need your 21 drawFlag commands any more but don't erase your drawFlag commands! Instead, comment them out like this in the code:
// drawFlag(100,50);
// drawFlag(200,50);
// drawFlag(???,???);
// drawFlag(???,???);
// drawFlag(???,???);
// drawFlag(???,???);
// drawFlag(???,???);
// drawFlag(???,???);
// drawFlag(???,???);
// drawFlag(???,???);
// drawFlag(???,???);
// drawFlag(???,???);
// drawFlag(???,???);
// drawFlag(???,???);
// drawFlag(???,???);
// drawFlag(???,???);
// drawFlag(???,???);
// drawFlag(???,???);
// drawFlag(???,???);
// drawFlag(???,???);
// drawFlag(???,???);
Or like this:
/*
   drawFlag(100,50);
   drawFlag(200,50);
   drawFlag(???,???);
   drawFlag(???,???);
   drawFlag(???,???);
   drawFlag(???,???);
   drawFlag(???,???);
   drawFlag(???,???);
   drawFlag(???,???);
   drawFlag(???,???);
   drawFlag(???,???);
   drawFlag(???,???);
   drawFlag(???,???);
   drawFlag(???,???);
   drawFlag(???,???);
   drawFlag(???,???);
   drawFlag(???,???);
   drawFlag(???,???);
   drawFlag(???,???);
   drawFlag(???,???);
   drawFlag(???,???);
*/
Great! Now go on to Step 4.
In Step 3 you added 20 more references to drawFlag in the program so that it looks like the grid of flags image at the top of this page. You probably found that it was a fair amount of work. It would be better if we could add a few lines of code that would be like a shortcut to do the same thing.
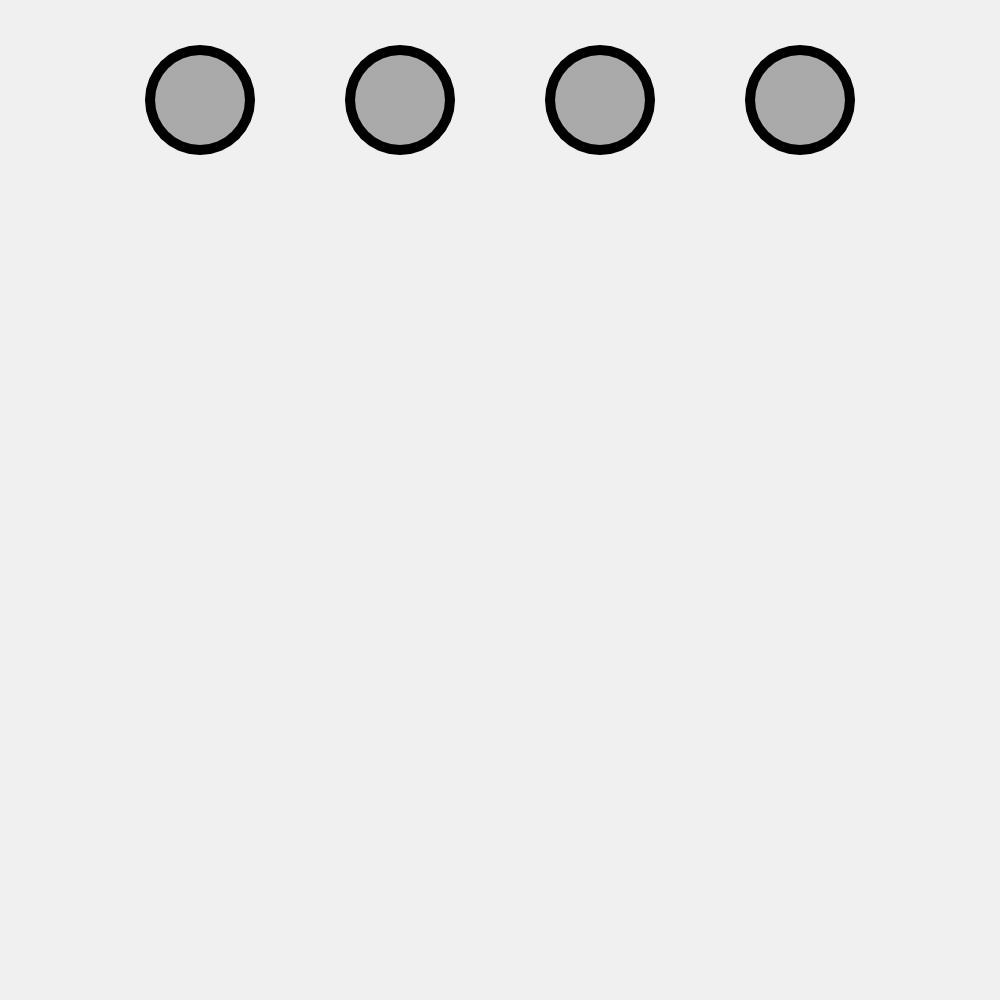
Here is some code you can add to plot four flags in a row:
  y = 50;
  for (x = 100 ; x <= 400; x += 100) {
   drawFlag(x,y);
  }
If you add this to your code, your program should behave like this
Important: Draw a flow chart for this for loop
At the end of Step 3 it shows four flags created using our for loop. The goal is to draw 21 flags so that only takes us a little bit closer.
We can add another layer of shortcuts by "nesting".
Here is some code that is an example of what is called "nested" for loops
for (y = 50; y <= ????; y += ????) {
  for (x = 100 ; x <= 400; x += 100) {
  drawFlag(x,y);
  }
}
Replace the ???? so that it draws 24 flags in a grid like it does in this example
Obviously, this is more flags that we need to draw. We will deal with that in the next step.
Note: There is more than one right answer to this step!
Important: Draw a flowchart for these nested for loops
To only draw 21 flags, we are going to keep track of how many flags that have been drawn by adding three lines to the code:
  Nflags_so_far = 0;
  for (y = 50; y <= ????; y += ????) {
   for (x = 100 ; x <= 400; x += 100) {
     drawFlag(x,y);
     Nflags_so_far += 1;
   }
  }

  drawText('Nflags_so_far = ' + Nflags_so_far,10,470);
Here are the snippets of code to make it easier to copy paste it into your code:
Nflags_so_far = 0;
Nflags_so_far += 1;
drawText('Nflags_so_far = ' + Nflags_so_far,10,435);
Once you add this to your code, your program should behave like this
We can add an if statement to our nested for loop so that we only draw a flag if the number of flags so far is less than 21.
To do this at the beginning of the program we need to specify the total number of flags:
Ntotalflags = 21;
Now we need to add an if statement to the nested for loop like this:
Ntotalflags = 21;

function draw() {

  clearscreen(240,240,240);
  display();

  fill(170,170,170);
  stroke(0,0,0);

  Nflags_so_far = 0;
  for (y = 50; y <= ????; y += ????) {
   for (x = 100 ; x <= 400; x += 100) {
    if ( ???? < ???? ) {
     drawFlag(x,y);
     Nflags_so_far += 1;
    }
   }
 }
Replace the ???? with either Ntotalflags or Nflags_so_far so that the program only draws 21 flags as it does in this example
Note: You can comment out or erase drawText('Nflags_so_far = ' + Nflags_so_far,10,435); after you have checked that it gives you 21
Important: Draw a flowchart for the nested for loops and the if statement
We need to start making this into more of a game, starting with some keyboard input. According to the rules of the game, each player can take 1, 2 or 3 flags. Let's add some code to make that happen when you press 1, 2 or 3 on the keyboard:
  drawText('Press 1, 2 or 3',150,400);
  if ((keyIsPressed == true) && (key == 1)) Ntotalflags -= 1;
  if ((keyIsPressed == true) && (key == 2)) Ntotalflags -= 2;
  if ((keyIsPressed == true) && (key == 3)) Ntotalflags -= 3;
Copy paste this code AFTER the display(); function but before the final } of the draw() function. You should find that your program behaves like this
At this point you should have all green check marks! Yay!
Challenge: Draw a flowchart for the ENTIRE PROGRAM!
Now you have a working game of Thai 21! Now it's time to play the game and analyze it!